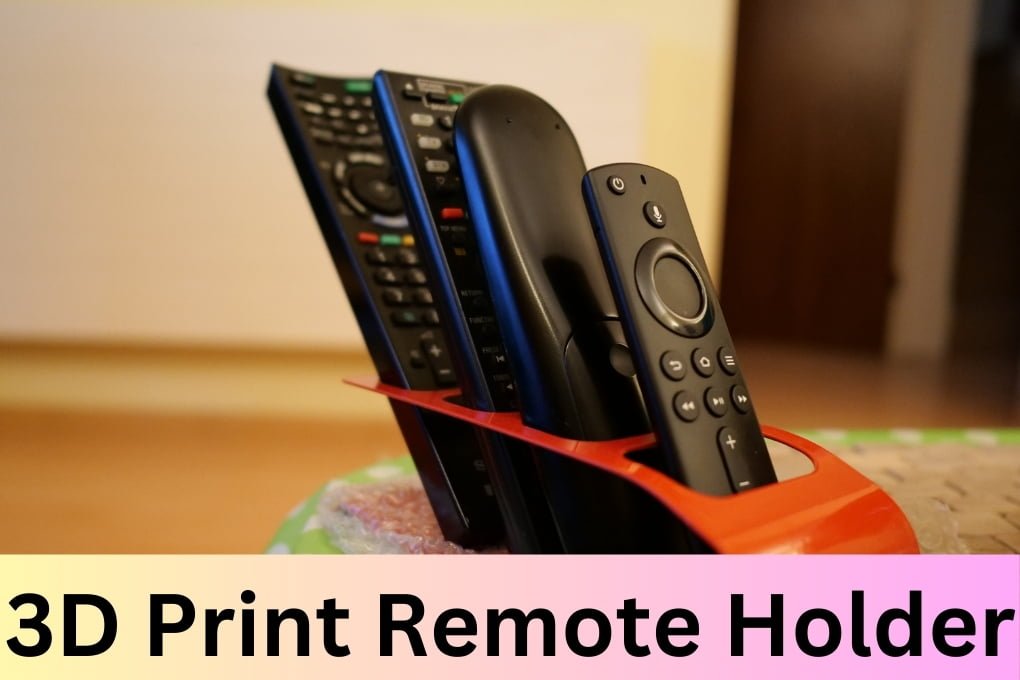
A 3D print remote holder is a specially designed accessory that can be created using a 3D printer to hold and organize remote controls for various electronic devices.
I. Benefits of a 3D Printed Remote Holder
Having a clutter-free living space is essential for a comfortable and organized lifestyle. One of the main culprits of clutter in our homes is remote controls. We all have multiple remotes for our various devices, such as televisions, sound systems, and streaming devices. A 3D printed remote holder can be the perfect solution to keep your remotes in one place, easily accessible, and neatly organized.
1. Organization
With a 3D printed remote holder, you can say goodbye to the days of searching for lost remotes. By having a designated spot for each remote, you’ll always know where to find them. This not only saves you time but also reduces stress and frustration.
2. Convenience
Having all your remotes in one place means you can easily grab the one you need without having to search through drawers or under cushions. This convenience is especially useful when you want to quickly switch between devices or control multiple devices simultaneously.
3. Space-saving
A 3D printed remote holder is designed to be compact and space-saving. It can be mounted on a wall, attached to the side of a TV stand, or placed on a coffee table. By utilizing vertical space, you can free up valuable surface area and make your living space appear less cluttered.
4. Customizability
One of the greatest advantages of 3D printing is the ability to customize designs. With a 3D printed remote holder, you can create a design that perfectly fits your remote controls. Whether you have standard-sized remotes or unique-shaped ones, you can tailor the holder to accommodate them all.
5. Cost-effective
Traditional remote holders can be expensive and may not always fit your specific needs. With 3D printing, you have the freedom to design and create your own remote holder at a fraction of the cost. All you need is a 3D printer and some filament, making it a cost-effective solution for organizing your remotes.
Overall, a 3D printed remote holder offers a range of benefits, including organization, convenience, space-saving, customizability, and cost-effectiveness. With its sleek and functional design, it’s a must-have accessory for any tech-savvy individual.
II. How to Design a 3D Printed Remote Holder
Designing a 3D printed remote holder is a fun and practical project that can help you keep your remotes organized and easily accessible. Whether you have multiple remotes for your TV, DVD player, or other electronic devices, a 3D printed remote holder can help you keep them all in one place.
Here’s a step-by-step guide on how to design your own remote holder using 3D printing technology:
- Measure your remotes: Before you start designing your remote holder, it’s important to measure the dimensions of your remotes. This will ensure that the holder is the right size and can securely hold your remotes.
- Create a 3D model: Once you have the measurements, you can use a 3D modeling software to create a model of your remote holder. There are various software options available, both free and paid, that you can use to design your model. Make sure to consider the shape and size of your remotes when designing the holder.
- Add functional features: To make your remote holder even more practical, consider adding functional features such as slots or compartments for other small items like batteries or charging cables. This will help you keep all your remote-related items in one place.
- Test and adjust: Once you have created the 3D model, it’s a good idea to test it before printing. You can use a 3D printing simulation software to ensure that the model is structurally sound and will hold your remotes securely. If needed, make any necessary adjustments to the design.
- Export the file: After finalizing the design, export the file in a format that is compatible with your 3D printer. Common file formats for 3D printing include .STL and .OBJ.
- Prepare your 3D printer: Before printing, make sure your 3D printer is properly calibrated and ready to go. Check the printer’s manual for specific instructions on how to prepare it for printing.
- Print your remote holder: Load the exported file onto your 3D printer and start the printing process. Depending on the complexity of the design and the speed of your printer, the printing process can take anywhere from a few hours to a few days.
- Post-processing: Once the printing is complete, remove the printed remote holder from the printer and remove any support structures if necessary. Sand or polish the holder to achieve a smooth finish if desired.
- Enjoy your new remote holder: Now that your 3D printed remote holder is ready, place your remotes in their designated slots and enjoy the benefits of having an organized and easily accessible remote control station.
Designing and 3D printing your own remote holder is a great way to showcase your creativity and make your life more organized. By following these steps, you can create a custom remote holder that perfectly fits your needs. Happy designing and printing!
III. Materials and Tools Needed for 3D Printing a Remote Holder
When it comes to 3D printing a remote holder, you’ll need a few essential materials and tools to ensure a successful print. Here’s a list of what you’ll need:
1. Materials:
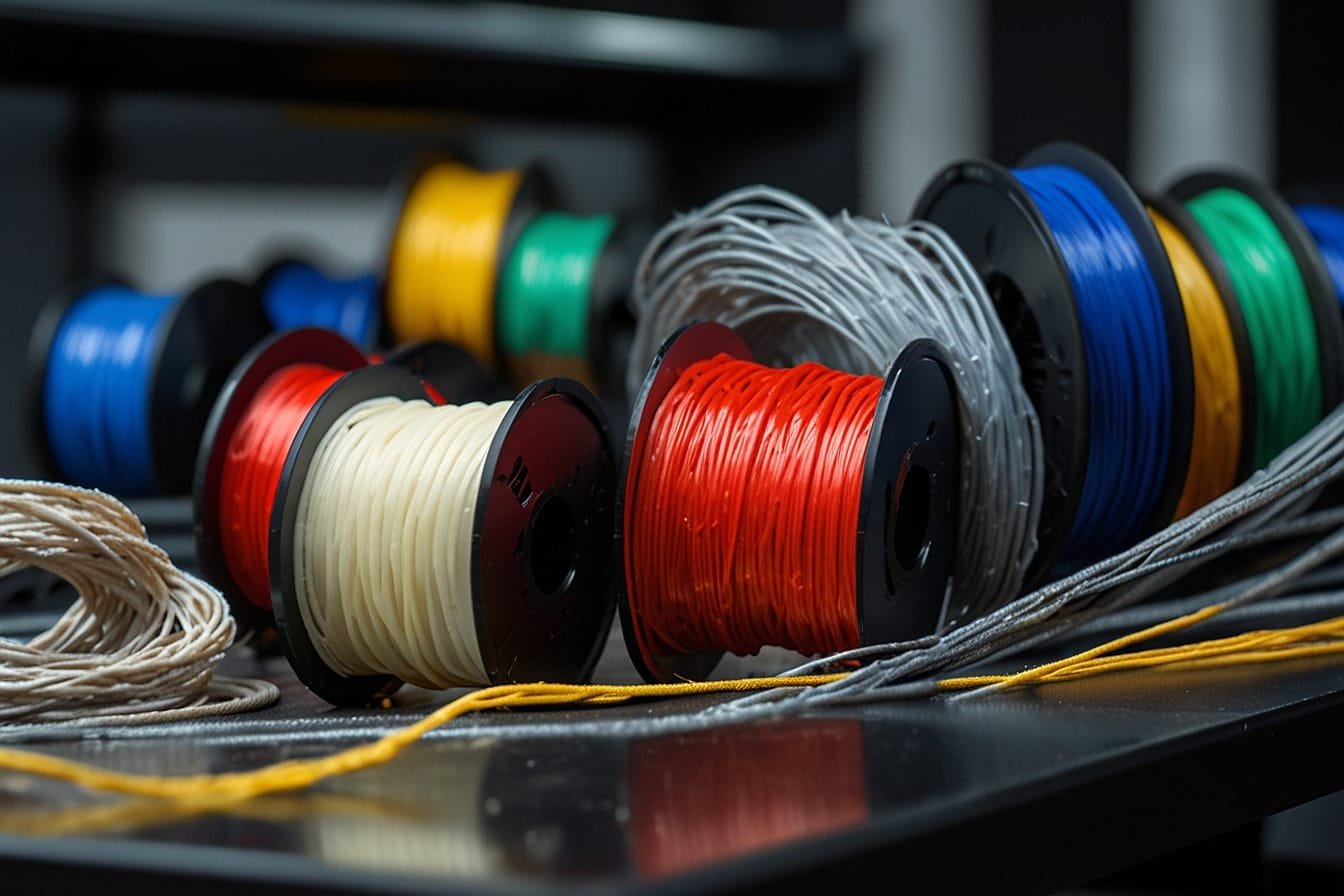
- 3D Printer Filament: Choose a filament that is suitable for your printer and desired outcome. PLA filament is a popular choice due to its ease of use and affordability.
- Adhesive: Depending on the type of filament you’re using, you may need an adhesive to help the layers stick together during the printing process. This could be in the form of glue, tape, or a specialized adhesive for 3D printing.
2. Tools:
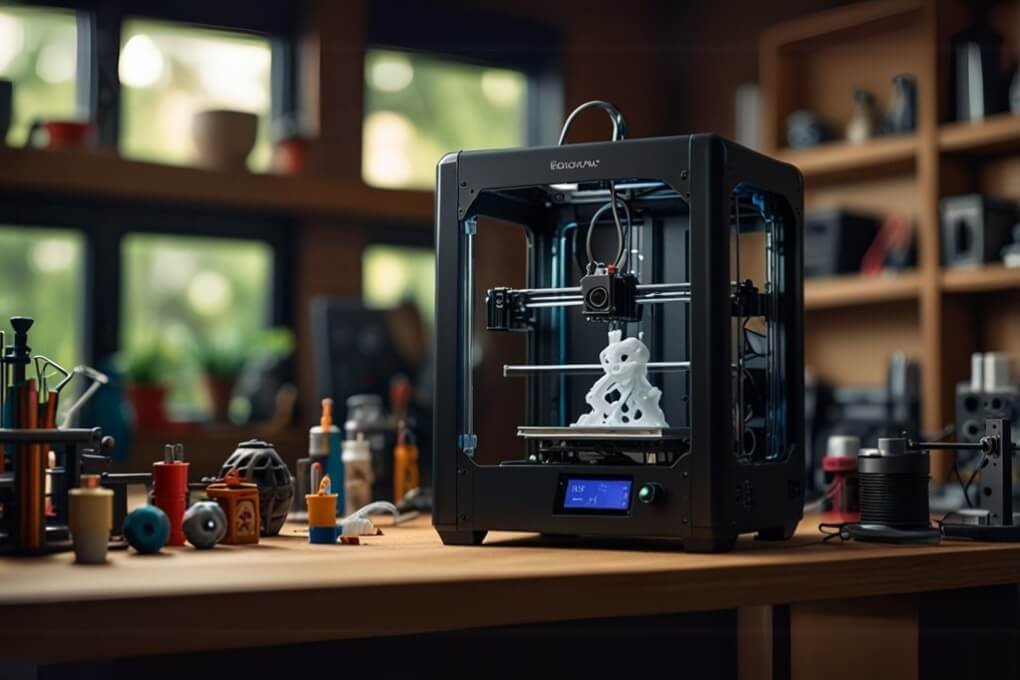
- 3D Printer: Of course, you’ll need a 3D printer to bring your remote holder design to life. Make sure your printer is properly calibrated and functioning correctly before starting the print.
- Computer: You’ll need a computer with 3D modeling software to design your remote holder. There are various software options available, both free and paid, so choose one that suits your needs and level of expertise.
- Calipers: Calipers are useful for measuring the dimensions of your remote to ensure a perfect fit for your holder. This will help you design a custom holder that fits snugly and securely.
- Slicing Software: Slicing software is used to convert your 3D model into instructions that the printer can understand. This software allows you to adjust settings such as layer height, infill density, and print speed.
- Scraper or Spatula: A scraper or spatula is handy for removing the printed remote holder from the printer’s build plate once it’s finished printing. Be careful not to damage the build plate or the print during this process.
By gathering these materials and tools, you’ll be well-equipped to successfully 3D print a remote holder that meets your needs. Remember to follow the manufacturer’s instructions for your specific printer and filament, and don’t be afraid to experiment and iterate on your design to achieve the perfect remote holder.
IV. Tips for Successful 3D Printing of a Remote Holder
When it comes to 3D printing a remote holder, there are a few tips that can help ensure a successful outcome.
Whether you are a beginner or an experienced 3D printer, these tips will help you achieve the best results:
- Choose the right filament: Selecting the right filament is crucial for the durability and functionality of your remote holder. Consider using a strong and durable filament such as ABS or PETG for a long-lasting holder.
- Optimize your design: Before printing, make sure to optimize your design for 3D printing. This includes ensuring proper wall thickness, adding support structures if needed, and optimizing the orientation of your model for better printing results.
- Calibrate your printer: Calibration is essential for achieving accurate and high-quality prints. Make sure to calibrate your printer’s bed leveling, extruder temperature, and filament flow rate to ensure precise and consistent printing.
- Use a heated bed: Using a heated bed can help prevent warping and improve adhesion between the print and the bed. This is especially important when printing with materials like ABS, which tend to warp more easily.
- Consider using a brim or raft: Adding a brim or raft to your print can help improve adhesion and prevent warping. This extra layer of material around the base of your print provides a larger surface area for better adhesion to the bed.
- Check for proper cooling: Proper cooling is crucial to prevent overheating and ensure clean and accurate prints. Make sure your printer’s cooling fan is working properly and adjust the cooling settings if necessary.
- Monitor your print: It’s important to keep an eye on your print throughout the process. Check for any signs of issues such as filament jams, layer shifting, or poor adhesion. This will allow you to address any problems immediately and prevent wasted time and material.
- Post-processing: Once your print is complete, consider post-processing techniques to improve the overall look and functionality of your remote holder. This may include sanding, painting, or adding additional features such as cable management.
By following these tips, you can ensure a successful 3D printing experience and create a functional and stylish remote holder that perfectly suits your needs.
FAQ – 3D Print Remote Holder
What is a 3D print remote holder?
A 3D print remote holder is a small object that is designed to hold and organize your remote controls in a neat and accessible manner.
How does a 3D print remote holder work?
A 3D print remote holder typically consists of a base with slots or compartments that are specifically designed to fit different types of remote controls. You simply place your remotes into the designated slots, and they will be securely held in place.
Can I customize the design of a 3D print remote holder?
Yes, one of the advantages of 3D printing is the ability to customize designs. You can modify the dimensions, shapes, and even add personal touches to create a remote holder that suits your preferences.
What materials are commonly used for 3D print remote holders?
PLA (Polylactic Acid) and ABS (Acrylonitrile Butadiene Styrene) are popular materials for 3D print remote holders due to their durability and ease of printing. However, other materials compatible with 3D printers can also be used.
Do I need a 3D printer to get a 3D print remote holder?
Yes, in order to obtain a 3D print remote holder, you will either need to own a 3D printer or have access to one. Alternatively, you can find online platforms where you can order custom 3D prints.
Are 3D print remotes holders compatible with all types of remotes?
Most 3D print remote holders are designed to accommodate standard-sized remotes. However, it’s important to check the dimensions and shapes of the slots to ensure compatibility with your specific remotes.
Can I sell or distribute 3D print remote holders?
It depends on the licensing and copyright of the specific design you are using. Some designs may have restrictions on commercial use, while others may allow you to sell or distribute the holders.
How long does it take to 3D print a remote holder?
The printing time for a remote holder can vary depending on the complexity of the design, the settings of your 3D printer, and the size of the holder. On average, it can take anywhere from 1 to 4 hours.
Can I paint or decorate a 3D print remote holder?
Yes, you can paint or decorate a 3D print remote holder to match your personal style or home decor. Using acrylic paints or spray paints designed for plastics can help achieve a desired look.
Are there any safety considerations when using 3D print remote holders?
While 3D print remote holders are generally safe to use, it’s important to ensure that the holder is stable and securely placed to avoid accidental falls. Additionally, be cautious of any sharp edges or rough surfaces that may cause injury.
Conclusion on 3D Print Remote Holder
With the increasing popularity of 3D printing, a remote holder is a simple yet practical accessory that can help keep your living space organized. By utilizing the
ower of 3D printing technology, you can easily customize and create a remote holder that suits your needs and style.
Whether you are a DIY enthusiast or just looking for a unique and functional solution, a 3D printed remote holder is a great addition to your home.
