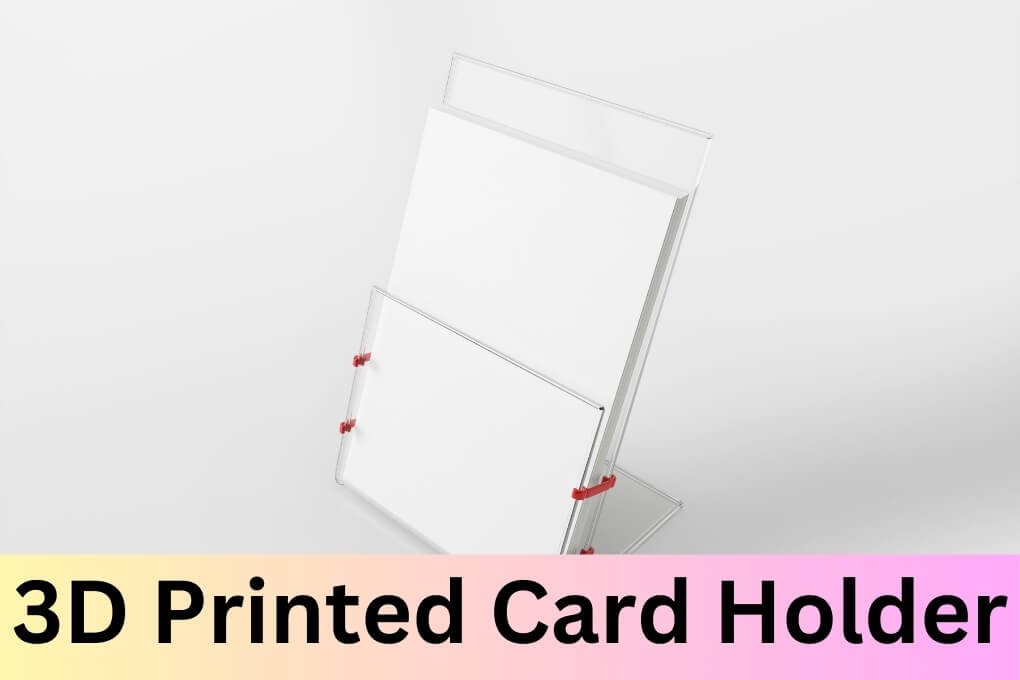
A 3D printed card holder is a stylish and practical accessory that can securely hold your business cards, credit cards, and IDs.
Whether you’re attending a networking event or simply want to keep your cards organized in your bag or pocket, a 3D printed card holder offers a sleek and customizable solution.
With endless design possibilities, you can create a card holder that reflects your personal style while keeping your cards safe and easily accessible. Let’s explore the benefits and design options of 3D printed card holders.
I. Benefits of Using a 3D Printed Card Holder
Having a 3D printed card holder offers several advantages over traditional card holders.
Here are some of the key benefits:
1. Customization
With a 3D printed card holder, you have the freedom to design and customize it according to your preferences. Whether you want a sleek and minimalist design or a more intricate and unique look, you can create a card holder that reflects your personal style.
2. Durability
3D printed card holders are typically made from strong and durable materials such as ABS plastic or nylon. These materials are known for their toughness, ensuring that your card holder will withstand daily wear and tear.
3. Lightweight
Unlike traditional card holders made from heavier materials like metal or leather, 3D printed card holders are lightweight and won’t add unnecessary bulk to your wallet or bag. This makes them ideal for those who prefer a more streamlined and portable card storage solution.
4. Cost-effective
3D printing technology has made the production of custom items more affordable. By printing your own card holder, you can save money compared to purchasing a pre-made one from a store. Additionally, you can experiment with different designs without breaking the bank.
5. Eco-friendly
3D printing allows for the use of sustainable and recyclable materials. By choosing to print a card holder instead of buying a mass-produced one, you are reducing waste and contributing to a more environmentally friendly approach to manufacturing.
6. Versatility
With 3D printing, you can create card holders that are not limited to holding just cards. You can design holders that accommodate IDs, business cards, or even small gadgets like USB drives. This versatility allows you to tailor your card holder to your specific needs.
In conclusion, 3D printed card holders offer a range of benefits including customization, durability, lightweight design, cost-effectiveness, eco-friendliness, and versatility. By harnessing the power of 3D printing technology, you can create a card holder that not only serves its purpose but also reflects your personal style.
II. How to Design and Customize Your Own 3D Printed Card Holder
Designing and customizing your own 3D printed card holder can be a fun and rewarding project. With the advancements in 3D printing technology, it has become easier than ever to create personalized and unique items.
Here are some steps to help you get started:
- Brainstorm and Sketch: Before diving into the design process, take some time to brainstorm and sketch out your ideas. Think about the size, shape, and style of the card holder you want to create. Consider any specific features or details you want to incorporate.
- Choose a 3D Design Software: There are several 3D design software options available, both free and paid. Some popular choices include Tinkercad, Fusion 360, and AutoCAD. Choose the software that best suits your needs and skill level.
- Create the Design: Using your chosen software, start creating the design for your card holder. Begin by sketching the basic shape and then add any additional features or details. Experiment with different designs until you are satisfied with the final result.
- Customize the Design: One of the advantages of 3D printing is the ability to customize your creations. Consider adding your initials, a logo, or any other personalization to make the card holder truly unique. You can also experiment with different colors or materials for a more personalized touch.
- Prepare the Design for 3D Printing: Once you have finalized your design, you need to prepare it for 3D printing. This involves ensuring the design is in the correct file format (such as .STL), checking for any errors or issues, and setting the appropriate print parameters such as layer height and infill density.
- Send the Design to a 3D Printer: Now that your design is ready, it’s time to send it to a 3D printer. If you have your own 3D printer, simply load the file and start the printing process. If you don’t have a printer, you can use a 3D printing service or find a local makerspace or library that offers 3D printing services.
- Post-Processing: Once the 3D printing is complete, you may need to do some post-processing to clean up the print. This can involve removing any support structures, sanding down rough edges, or applying a finish or paint to enhance the appearance of the card holder.
- Enjoy Your Customized Card Holder: Once you have finished post-processing, your 3D printed card holder is ready to use! Enjoy the satisfaction of using a personalized and unique item that you designed and created yourself.
Designing and 3D printing your own card holder allows you to unleash your creativity and showcase your personal style. Whether you want a sleek and minimalist design or a bold and eye-catching one, the possibilities are endless. So, why settle for a generic card holder when you can create something that truly reflects your individuality?
III. Materials and Tools Required for 3D Printing a Card Holder
To successfully 3D print a card holder, you will need the following materials and tools:
Materials:
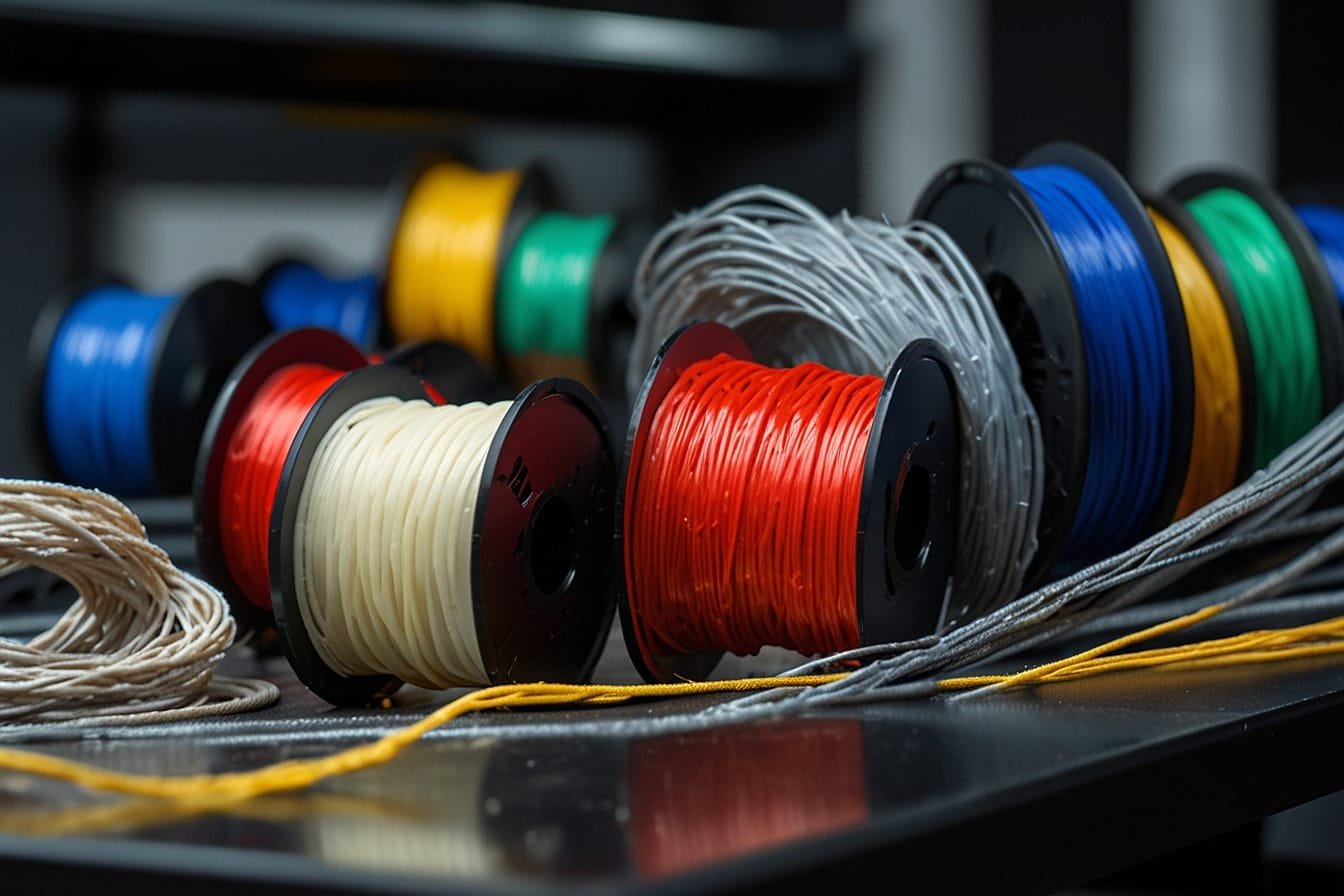
- 3D Printer Filament: Choose a filament that suits your needs, such as PLA or ABS. Consider factors like durability, flexibility, and color options.
- Card Holder Design: Find or create a 3D model of a card holder that you like. There are many websites and online communities where you can find free or paid designs.
Tools:
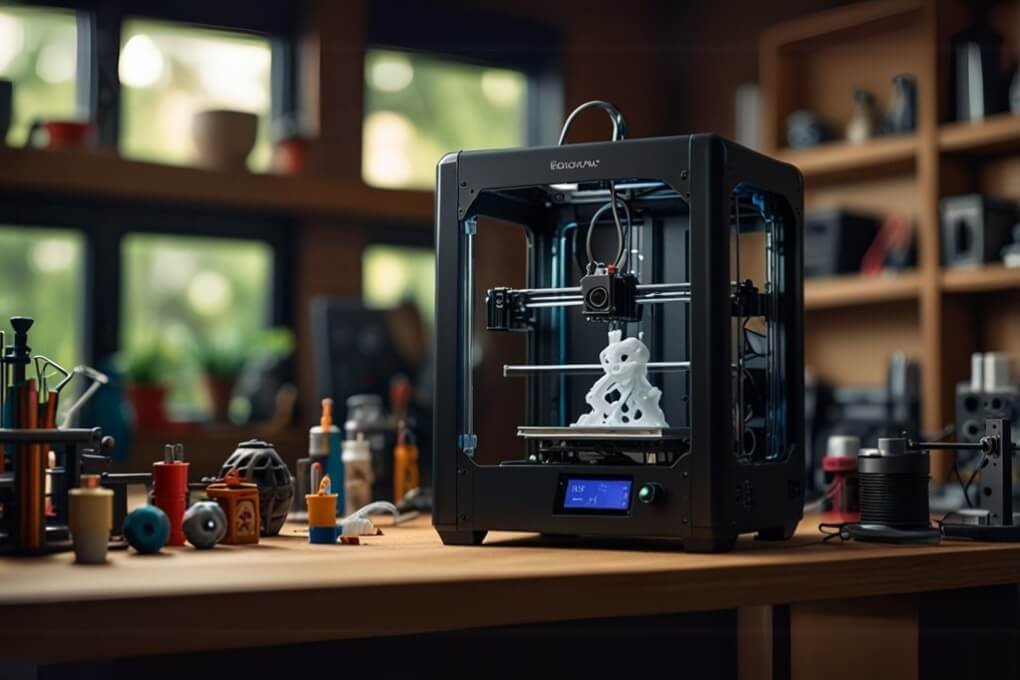
- 3D Printer: You will need a 3D printer to bring your design to life. Make sure your printer is in good working condition and properly calibrated.
- Slicing Software: Use slicing software to prepare your 3D model for printing. This software will convert your design into instructions that the printer can understand.
- Computer: You will need a computer to run the slicing software and connect to your 3D printer.
- SD Card or USB Drive: Save the sliced file onto an SD card or USB drive, which will be inserted into your 3D printer for printing.
- Calipers or Measuring Tools: These tools are useful for measuring the dimensions of your card holder design and ensuring accuracy.
- Sanding Tools: Sandpaper or a sanding block can be used to smooth out any rough edges or imperfections on your printed card holder.
Table: Comparison of Different Filament Types
| Filament Type | Advantages | Disadvantages |
|---|---|---|
| PLA | Durable, easy to print with, biodegradable, wide range of colors | Less heat resistant, can warp in high temperatures |
| ABS | Tough and impact-resistant, heat resistant, can be easily post-processed | Requires a heated bed for printing, emits fumes during printing |
| PETG | Durable and flexible, water-resistant, easy to print with | Can be prone to stringing, limited color options |
IV. Tips and Tricks for a Successful 3D Printing Project
1. Choose the Right Filament
When 3D printing a card holder, it is important to select the right filament for your project. PLA (Polylactic Acid) is a popular choice due to its ease of use, affordability, and wide range of color options. If you are looking for a more durable option, ABS (Acrylonitrile Butadiene Styrene) might be a better choice. Additionally, there are specialty filaments available, such as flexible TPU (Thermoplastic Polyurethane) or wood-filled PLA, which can add unique characteristics to your card holder.
2. Use Supports and Rafts
Depending on the design of your card holder, you may need to use supports and rafts during the 3D printing process. Supports are structures that are printed alongside your design to provide stability for overhangs and bridges. Rafts, on the other hand, are printed underneath your design to improve bed adhesion and prevent warping. Make sure to enable supports and rafts in your slicing software before starting the print to ensure the best possible outcome.
3. Optimize Print Settings
Adjusting your print settings can significantly impact the quality and strength of your 3D printed card holder. Increasing the infill percentage will make your card holder sturdier, while decreasing the layer height will enhance the level of detail. Experiment with different settings to find the right balance between print time and quality.
4. Check Bed Leveling and Adhesion
Before starting your 3D print, it is crucial to ensure that your print bed is properly leveled. A leveled bed helps in achieving consistent layer adhesion and prevents warping. Use a leveling tool or auto-leveling feature if available on your printer to ensure an even first layer. Additionally, consider using adhesive aids such as a raft, brim, or glue stick to improve bed adhesion and reduce the chances of print failure.
5. Post-Processing and Finishing
Once your card holder is 3D printed, you may want to perform some post-processing and finishing to achieve the desired look. This can include sanding to smooth rough edges, painting or applying a clear coat for a polished finish, or even adding custom designs or logos using decals or stickers. Remember to take your time and be patient during this step to achieve the best results.
6. Iterate and Improve
3D printing is a continuous learning process, and the more you experiment and iterate, the better your results will be. Don’t be afraid to try different designs, materials, and settings to improve your card holder. Take note of what works and what doesn’t, and use this knowledge to refine your future 3D printing projects.
Frequently Asked Questions (FAQ) – 3D Printed Card Holder
What is a 3D printed card holder?
A 3D printed card holder is a small, portable device designed to hold and organize various types of cards, such as credit cards, business cards, or ID cards. It is created using a 3D printer, which allows for customizable designs and materials.
How does a 3D printed card holder differ from traditional card holders?
A 3D printed card holder offers more flexibility in terms of design and personalization compared to traditional card holders. It can be customized to fit specific card sizes and can feature unique patterns, textures, or even personalized engravings.
What materials are commonly used for 3D printed card holders?
Commonly used materials for 3D printed card holders include PLA (polylactic acid), ABS (acrylonitrile butadiene styrene), and PETG (polyethylene terephthalate glycol). These materials provide durability and a wide range of color options.
Are 3D printed card holders durable?
Yes, 3D printed card holders can be durable depending on the material used and the design’s structural integrity. PLA and ABS are known for their strength, making them suitable choices for long-lasting card holders.
Can I customize the design of a 3D printed card holder?
Yes, one of the main advantages of 3D printed card holders is the ability to customize their design. You can choose from existing designs or create your own using 3D modeling software.
How long does it take to 3D print a card holder?
The printing time for a 3D card holder can vary depending on the complexity of the design, the size of the holder, and the 3D printer’s speed. Generally, it can take anywhere from a few hours to several days.
Can I use a 3D printed card holder for other purposes?
While a 3D printed card holder is primarily designed for holding cards, its versatility allows for other uses as well. Some people use it as a small wallet, a coin holder, or even a phone stand.
Is it possible to repair a 3D printed card holder if it breaks?
Yes, depending on the material used, a broken 3D printed card holder can be repaired using appropriate adhesives or by reprinting the damaged part. However, the ease of repair may vary depending on the design complexity.
Can I request a customized 3D printed card holder from a professional printing service?
Yes, many professional 3D printing services offer customization options. You can provide them with your desired design or specifications, and they will create a customized card holder for you.
Where can I find 3D printable card holder designs?
You can find a wide range of 3D printable card holder designs on various online platforms dedicated to 3D printing, such as Thingiverse, MyMiniFactory, or Cults. These platforms allow users to share and download designs for free or at a minimal cost.
conclusion on 3D Printed Card Holder
With its sleek design and customizable options, a 3D printed card holder is the perfect solution for keeping your cards in one place. Whether you’re a business professional or a student, this innovative accessory offers convenience and style. Plus, the durability of 3D printed materials ensures that your card holder will last for years to come. Say goodbye to clutter and hello to a more organized life with a 3D printed card holder.
