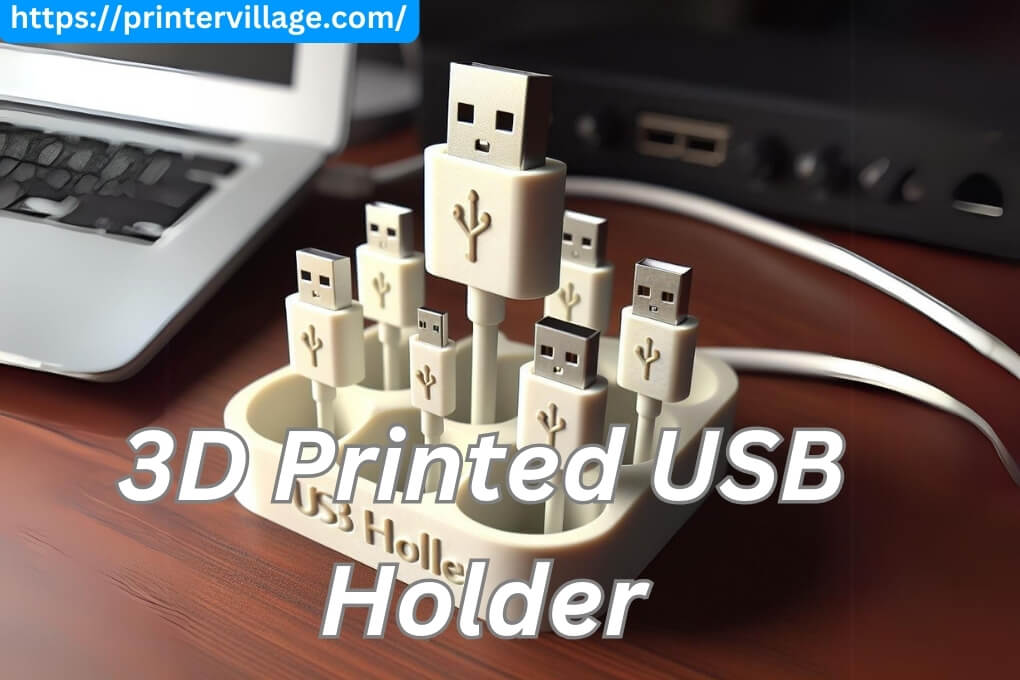
A 3D printed USB holder is a convenient and stylish solution to keep your USB drives organized and easily accessible.
With the increasing popularity of USB drives for storing and transferring data, it can be a challenge to keep track of them all. A 3D printed USB holder offers a practical and visually appealing solution to this problem. By using the power of 3D printing technology, you can create a customized USB holder that perfectly fits your needs and personal style. Whether you need a compact holder for your desk or a wall-mounted organizer for multiple USB drives, a 3D printed USB holder can help you stay organized and keep your important data within reach.
I. Benefits of a 3D Printed USB Holder
When it comes to organizing our electronic devices and accessories, having a reliable USB holder can make all the difference. With the rise of 3D printing technology, it is now easier than ever to create a custom USB holder that suits your needs perfectly.
Here are some of the key benefits of using a 3D printed USB holder:
1. Customization
One of the biggest advantages of 3D printing is the ability to design and customize objects to fit your exact specifications. With a 3D printed USB holder, you can create a design that matches your personal style and preferences. Whether you prefer a sleek and minimalist design or something more colorful and eye-catching, the possibilities are endless.
2. Organization
Keeping track of USB cables and flash drives can be a challenge, especially if you have multiple devices. A 3D printed USB holder can help you keep everything in one place, reducing clutter and making it easier to find what you need. By having designated slots or compartments for each USB device, you can stay organized and save valuable time searching for misplaced cables.
3. Protection
USB cables and flash drives are prone to damage if not properly stored. They can get tangled, bent, or even lost if left unprotected. A 3D printed USB holder can provide a secure and safe place to store your USB devices, protecting them from potential damage. By keeping your cables and flash drives neatly organized in a holder, you can extend their lifespan and ensure they are always ready for use.
4. Portability
With a 3D printed USB holder, you can easily take your USB devices with you wherever you go. Many USB holders are designed to be compact and lightweight, making them ideal for travel. Whether you’re going on a business trip or simply moving from one room to another, having a portable USB holder can make it convenient to carry your essential devices with you.
5. Cost-Effective
Creating a 3D printed USB holder can be a cost-effective solution compared to purchasing one from a store. With a 3D printer, you have the ability to print multiple holders for a fraction of the cost. Additionally, you can experiment with different designs and materials without breaking the bank. This allows you to find the perfect USB holder without spending a fortune.
In conclusion,
A 3D printed USB holder offers a range of benefits, including customization, organization, protection, portability, and cost-effectiveness. By harnessing the power of 3D printing technology, you can create a personalized USB holder that not only meets your needs but also adds a touch of style to your workspace. So why settle for a generic USB holder when you can design and print your own?
II. How to Design and Customize a 3D Printed USB Holder
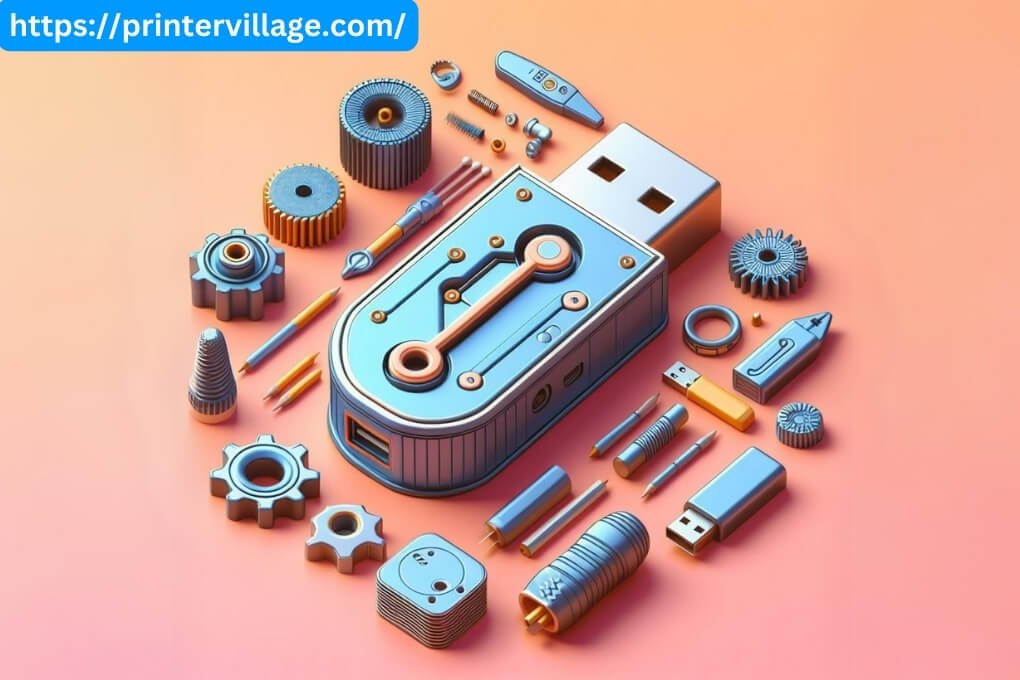
Designing and customizing a 3D printed USB holder allows you to create a practical and personalized storage solution for your USB drives. With the right tools and materials, you can easily bring your design ideas to life.
Here are the steps to design and customize a 3D printed USB holder:
1. Determine the Size and Shape
Start by deciding the size and shape of your USB holder. Consider the number of USB drives you want to store and the available space where the holder will be placed. Sketch out your design on paper or use a computer-aided design (CAD) software to visualize your ideas.
2. Choose a 3D Modeling Software
Select a 3D modeling software that suits your level of expertise. There are various options available, ranging from beginner-friendly programs to advanced software used by professionals. Some popular choices include Autodesk Fusion 360, Tinkercad, and SketchUp.
3. Design the USB Holder
Using the chosen 3D modeling software, start designing your USB holder. Begin by creating a base or main structure that will hold the USB drives. Add compartments or slots to securely store each USB drive. Consider incorporating additional features such as a lid or a label holder for extra functionality.
4. Customize the Design
Personalize your USB holder by adding your own touch. You can incorporate your initials, a logo, or any other design elements that reflect your style or brand. Experiment with different colors and textures to make your USB holder visually appealing.
5. Export the Design File
Once you are satisfied with your design, export the file in a format compatible with 3D printers, such as .STL or .OBJ. Ensure that the file is properly saved and ready for the printing process.
6. Prepare the 3D Printer
Set up your 3D printer according to the manufacturer’s instructions. Make sure the printer is calibrated and the print bed is clean and leveled. Choose the appropriate filament material, such as PLA or ABS, based on your desired durability and aesthetic qualities.
7. Start the Printing Process
Load the exported design file into the 3D printer’s software and adjust the print settings, such as layer height and infill density. Start the printing process and allow the printer to work its magic. Be patient, as the printing time may vary depending on the complexity and size of your design.
8. Remove and Clean the Printed Parts
Once the printing is complete, carefully remove the printed parts from the print bed. Use a scraper or spatula to gently detach them if necessary. Remove any excess support material and clean the parts using a brush or compressed air to ensure a smooth finish.
9. Assemble the USB Holder
If your design consists of multiple parts, assemble them according to your design specifications. Use adhesive or screws to securely join the components together. Make sure the USB slots are properly aligned and the holder is stable.
10. Test and Enjoy
Before putting your USB drives into the holder, test its functionality by inserting and removing a USB drive. Ensure that the slots provide a snug fit and the USB drives are held securely. Once everything is in place, enjoy your newly designed and customized 3D printed USB holder!
III. Materials and Tools Required for 3D Printing a USB Holder
In order to successfully 3D print a USB holder, you will need the following materials and tools:
Materials:
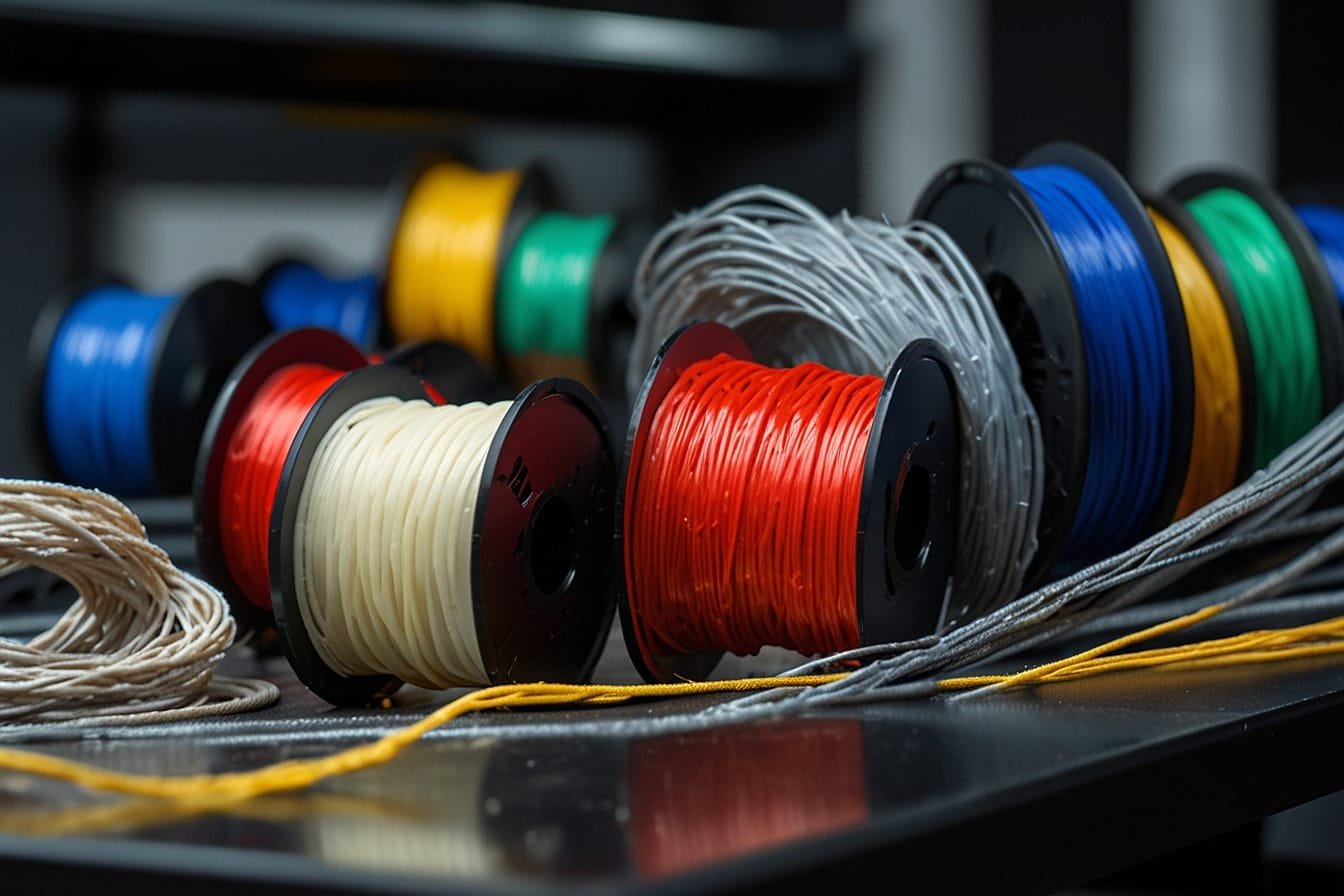
- 3D Printer Filament: Choose a filament material that suits your needs and preferences. PLA (polylactic acid) is a popular choice due to its ease of use and wide range of colors available.
- USB Holder Design File: Find or create a 3D model file for the USB holder design you want to print. You can search for pre-made designs on websites like Thingiverse or create your own using 3D modeling software.
Tools:
- 3D Printer: You will need a 3D printer capable of printing with the filament material you have chosen. Make sure your printer is in good working condition and properly calibrated.
- Slicing Software: Slicing software is used to convert your 3D model file into instructions that the 3D printer can understand. Popular slicing software options include Ultimaker Cura, PrusaSlicer, and Simplify3D.
- Computer: A computer is needed to run the slicing software and transfer the sliced file to the 3D printer.
- SD Card or USB Cable: Depending on your 3D printer, you will need either an SD card or a USB cable to transfer the sliced file to the printer.
- Calipers or Ruler: These tools are useful for measuring the dimensions of your USB holder design to ensure accuracy and proper fit.
- Scraper or Spatula: A scraper or spatula is handy for removing the printed USB holder from the build plate of the 3D printer.
- Sandpaper or File: Sandpaper or a file can be used to smooth out any rough edges or imperfections on the printed USB holder.
By gathering these materials and tools, you will be well-prepared to start 3D printing your own custom USB holder. Remember to always follow the manufacturer’s instructions for your specific 3D printer and take necessary safety precautions while handling the equipment and materials.
IV. Tips for Printing and Assembling a 3D Printed USB Holder
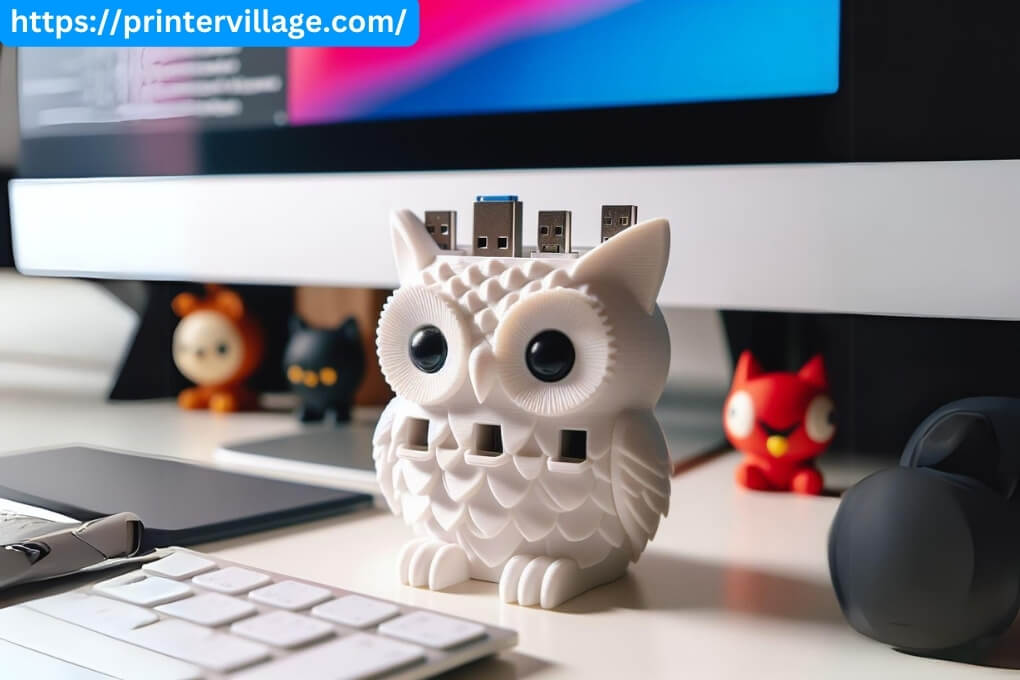
When it comes to printing and assembling a 3D printed USB holder, there are a few important tips to keep in mind to ensure a successful outcome.
Follow these guidelines to make the process as smooth as possible:
- Choose the right filament: Select a filament that is strong and durable, such as PLA or ABS. These materials are commonly used for 3D printing and will provide the necessary strength for holding USB devices securely.
- Adjust the print settings: Make sure to adjust the print settings in your 3D printer software to achieve the desired level of detail and strength. This includes setting the layer height, print speed, and infill density. Higher layer heights and slower print speeds can result in stronger and more accurate prints.
- Use supports if necessary: Depending on the design of your USB holder, supports may be required to ensure overhangs and complex geometries are properly printed. Enable supports in your slicing software if needed, and be sure to remove them carefully after printing.
- Check the bed leveling: Before starting the print, ensure that your 3D printer’s bed is properly leveled. This will help prevent any issues with adhesion and warping during the printing process.
- Post-process the print: Once the print is complete, remove any excess support material and clean up any rough edges or imperfections using sandpaper or a file. This will give your USB holder a polished and professional finish.
- Assemble the USB holder: Depending on the design, you may need to assemble multiple parts to create the final USB holder. Follow the assembly instructions carefully, ensuring that all pieces fit together snugly and securely.
- Test the functionality: After assembling the USB holder, test its functionality by inserting USB devices and ensuring they fit properly and are held securely. Make any necessary adjustments or modifications if needed.
By following these tips, you can successfully print and assemble a 3D printed USB holder that is both functional and aesthetically pleasing.
FAQ – 3D Printed USB Holder
What is a 3D printed USB holder?
A 3D printed USB holder is a small, portable accessory designed to hold and organize USB flash drives or cables. It is created using a 3D printer, which allows for customization and flexibility in design.
How does a 3D printed USB holder work?
A 3D printed USB holder typically consists of a base or frame with slots or compartments to securely hold USB drives or cables. The design can vary depending on the specific model, but the holder should provide a snug fit to prevent the USB devices from falling out.
Can I customize the design of a 3D printed USB holder?
Yes, one of the main advantages of 3D printing is the ability to customize designs. Depending on the manufacturer or service provider, you may have the option to choose from pre-designed templates or even create your own unique design.
What materials are commonly used for 3D printed USB holders?
Common materials used for 3D printed USB holders include various types of plastic, such as PLA (polylactic acid) and ABS (acrylonitrile butadiene styrene). These materials offer durability and flexibility, making them ideal for creating functional and long-lasting holders.
Can a 3D printed USB holder accommodate different sizes of USB drives?
Yes, many 3D printed USB holders are designed to accommodate different sizes of USB drives. They often feature adjustable slots or compartments that can be resized to fit various USB drive dimensions.
Are 3D printed USB holders compatible with all USB drives?
While most 3D printed USB holders are designed to be compatible with standard USB drives, it is important to check the specifications of the holder to ensure compatibility. Some specialized USB drives with non-standard shapes or sizes may not fit properly in certain holders.
How do I clean a 3D printed USB holder?
Cleaning a 3D printed USB holder is usually straightforward. You can use a soft cloth or sponge dampened with mild soap and water to wipe the holder’s surface. Avoid using harsh chemicals or abrasive materials that could damage the 3D printed material.
Can I use a 3D printed USB holder for other purposes?
While 3D printed USB holders are primarily designed for organizing USB drives, they can also be used to hold other small items like cables, SD cards, or even office supplies like paperclips or rubber bands.
Where can I find 3D printed USB holders?
You can find 3D printed USB holders in various places. They may be available for purchase on online marketplaces, specialized 3D printing stores, or even through local 3D printing services. You can also explore websites that offer free 3D printing designs and print your own holder if you have access to a 3D printer.
How much does a 3D printed USB holder cost?
The cost of a 3D printed USB holder can vary depending on factors such as the complexity of the design, the size of the holder, the material used, and the seller’s pricing. On average, you can expect to find 3D printed USB holders ranging from $5 to $20.
Conclusion on 3D Printed USB Holder
With the advent of 3D printing technology, creating a customized USB holder has never been easier. By utilizing this innovative technique, you can design and print a unique USB holder that perfectly suits your needs. Not only does it provide a convenient and organized storage solution, but it also adds a touch of personalization to your workspace. So why settle for generic USB holders when you can easily create one that reflects your style and personality? Embrace the possibilities of 3D printing and revolutionize the way you store and display your USBs.
