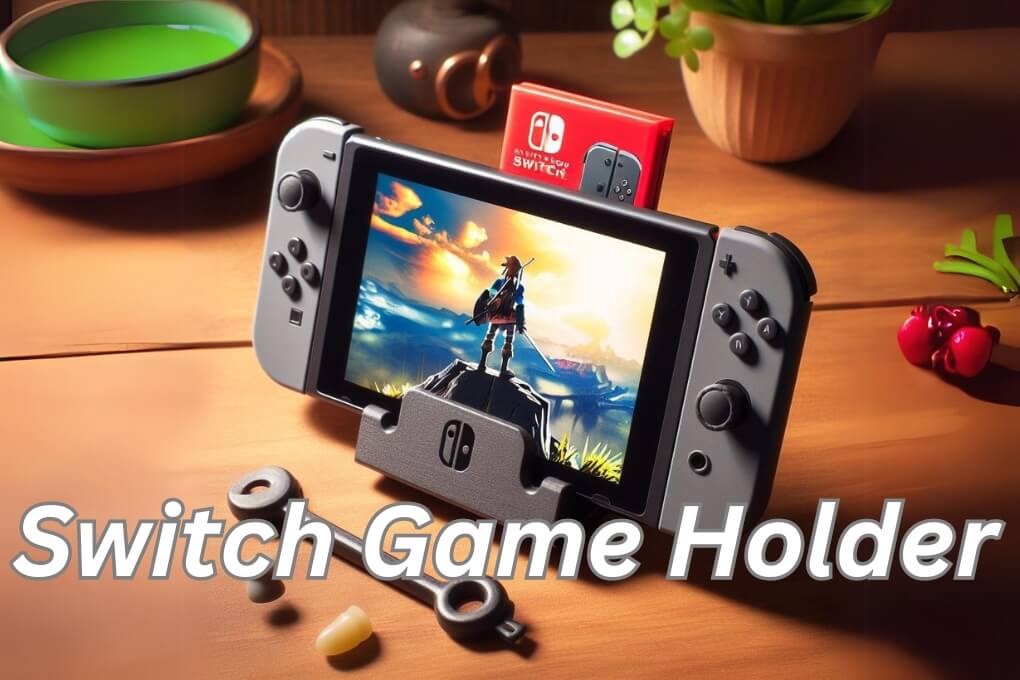
Yes, you can 3D print a Switch game holder!
If you’re looking for a convenient and customizable way to store and organize your Nintendo Switch game cartridges, 3D printing offers a fantastic solution. With a 3D printer, you can create a Switch game holder that perfectly fits your needs and preferences, ensuring that your games are always neatly organized and easily accessible. Whether you want a compact holder for on-the-go gaming or a larger one to display your collection, 3D printing allows you to bring your ideas to life.
I. Benefits of 3D Printing for Switch Game Holders
When it comes to organizing and storing your Nintendo Switch games, having a reliable game holder is essential. With the advent of 3D printing technology, creating custom game holders has become easier and more accessible than ever before. As an avid gamer and 3D printing enthusiast, I have discovered numerous benefits of using 3D printing for Switch game holders.
1. Customization
One of the biggest advantages of 3D printing is the ability to customize designs to fit your specific needs. With traditional game holders, you are limited to the pre-designed options available in the market. However, with 3D printing, you can create a game holder that perfectly fits the dimensions and layout of your Nintendo Switch games. Whether you have a small collection or a large one, you can design a game holder that suits your exact requirements.
2. Cost-Effectiveness
Another significant benefit of 3D printing is its cost-effectiveness. While purchasing a game holder from a store can be quite expensive, 3D printing allows you to produce your own holder at a fraction of the cost. All you need is a 3D printer and the materials, which are generally affordable and readily available. By printing your own game holder, you can save money while still enjoying a high-quality storage solution for your Switch games.
3. Quick and Easy Prototyping
With 3D printing, you can quickly and easily prototype your game holder designs. Instead of waiting for a manufacturer to create a prototype for you, you can simply design and print your own iterations. This allows for faster design improvements and modifications, ensuring that you get the perfect game holder that meets your needs. Whether you want to adjust the size, add additional features, or experiment with different aesthetics, 3D printing enables you to iterate and refine your designs at a rapid pace.
4. Flexibility in Design
3D printing offers unparalleled flexibility in design. Unlike traditional manufacturing methods, which often have limitations on shape and structure, 3D printing allows for intricate and complex designs. This means that you can create game holders with unique shapes, patterns, and textures that are not possible with other manufacturing techniques. Whether you want a sleek and minimalist design or a bold and eye-catching one, 3D printing gives you the freedom to bring your creative ideas to life.
5. Sustainability
Lastly, 3D printing promotes sustainability. By printing your own game holder, you reduce the need for mass production and shipping, which can have a significant environmental impact. Additionally, 3D printing allows for the use of eco-friendly materials, such as biodegradable plastics, further reducing your carbon footprint. By embracing 3D printing for your Switch game holders, you can contribute to a more sustainable and eco-conscious gaming community.
Overall, the benefits of 3D printing for Switch game holders are undeniable. From customization and cost-effectiveness to quick prototyping and design flexibility, 3D printing offers a range of advantages that traditional manufacturing methods cannot match. By harnessing the power of 3D printing, you can create personalized and functional game holders that enhance your gaming experience.
II. How to Design a Switch Game Holder for 3D Printing
Designing a Switch game holder for 3D printing can be an exciting and creative process. With the right tools and knowledge, you can easily create a customized holder that perfectly fits your Nintendo Switch games.
Here are the steps to design a Switch game holder for 3D printing:
1. Determine the Design
Start by deciding on the design of your Switch game holder. Consider the number of game slots you want, the shape and size of the holder, and any additional features you may want to include, such as a handle or a label holder. Sketch out your design ideas on paper or use a 3D modeling software to create a digital design.
2. Take Measurements
Next, you’ll need to take accurate measurements of your Nintendo Switch game cartridges. Measure the length, width, and height of a single game cartridge, as well as the spacing between each cartridge when they are placed side by side. These measurements will help you create slots that fit your games perfectly.
3. Choose a 3D Modeling Software
Once you have your design and measurements, it’s time to choose a 3D modeling software to bring your design to life. There are many options available, ranging from beginner-friendly software to more advanced ones. Some popular choices include Autodesk Fusion 360, Tinkercad, and SketchUp. Select the software that best suits your skill level and preferences.
4. Create the 3D Model
Using your chosen 3D modeling software, start creating the 3D model of your Switch game holder. Begin by creating a base or frame that will hold the game cartridges. Then, add the slots based on the measurements you took earlier. Make sure the slots are spaced evenly and that each one is the correct size to securely hold a game cartridge.
5. Add Additional Features
If you want to add any additional features to your Switch game holder, such as a handle or a label holder, now is the time to do so. Use the modeling software to add these elements and ensure they are properly integrated into the design.
6. Check for Errors
Before exporting the 3D model for printing, thoroughly check it for any errors or issues. Make sure all the dimensions are correct, the slots are aligned properly, and there are no intersecting or overlapping parts. This step is crucial to ensure a successful 3D printing process.
7. Export and Prepare for 3D Printing
Once you’re satisfied with your design and have checked for any errors, export the 3D model in a file format compatible with your 3D printer. Common file formats include .STL and .OBJ. Before printing, ensure that your 3D printer is properly calibrated and that you have the necessary printing materials, such as filament, available.
8. Print and Assemble
Finally, it’s time to print your Switch game holder. Load the 3D model file into your 3D printer’s software, adjust the printing settings according to your preferences, and start the printing process. Once the printing is complete, carefully remove the printed parts from the printer and assemble them according to your design. If needed, use adhesive or screws to secure the parts together.
By following these steps, you can design and 3D print a custom Switch game holder that perfectly fits your Nintendo Switch games. Enjoy the convenience and organization that 3D printing brings to your gaming experience!
III. Materials and Tools Needed for 3D Printing a Switch Game Holder
When it comes to 3D printing a Switch game holder, you will need a few essential materials and tools to ensure a successful print.
Here is a list of what you will need:
Materials:
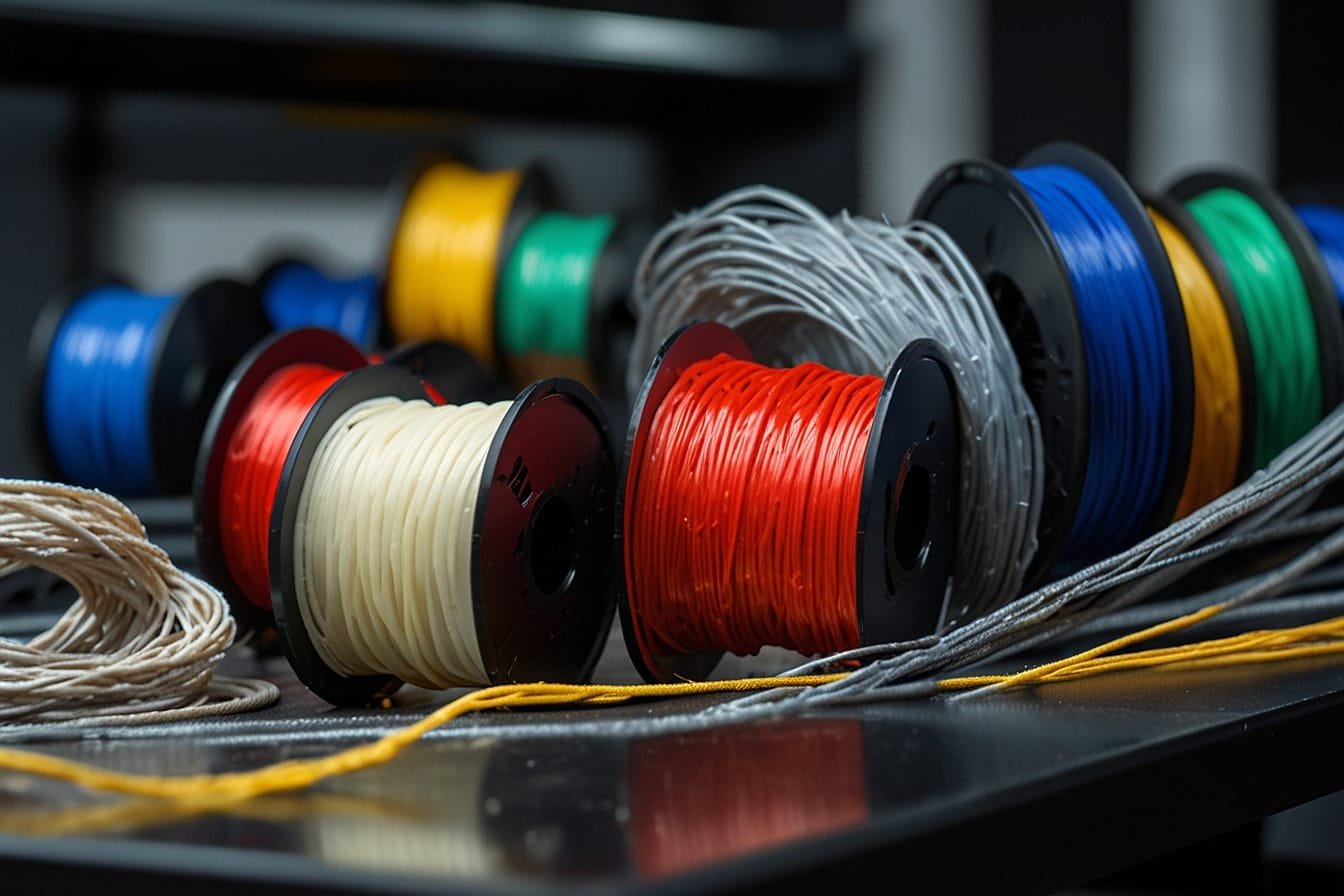
- 3D Printer Filament: Make sure to choose a high-quality filament that is compatible with your 3D printer. PLA filament is a popular choice for its ease of use and durability.
- Support Material (if necessary): Depending on the complexity of your design, you may need to use support material to ensure proper printing. This material is typically different from your main filament and is easily removable after printing.
Tools:
- 3D Printer: Of course, you will need a 3D printer to bring your design to life. Make sure your printer is in good working condition and properly calibrated.
- Computer with 3D Modeling Software: You will need a computer with 3D modeling software to create or modify your design. There are various software options available, both free and paid.
- SD Card or USB Drive: Most 3D printers require a digital file of your design to be loaded onto an SD card or USB drive for printing.
- Calipers: Calipers are useful for taking precise measurements of your Nintendo Switch game cartridges to ensure a perfect fit.
- Scraper or Spatula: A scraper or spatula is handy for removing your printed game holder from the print bed without damaging it.
- Sandpaper or File: Depending on the finish you desire, you may need sandpaper or a file to smooth any rough edges or imperfections on your printed game holder.
Table: Recommended Materials and Tools for 3D Printing a Switch Game Holder
| Materials | Tools |
|---|---|
| 3D Printer Filament | 3D Printer |
| Support Material (if necessary) | Computer with 3D Modeling Software |
| SD Card or USB Drive | |
| Calipers | |
| Scraper or Spatula | |
| Sandpaper or File |
By gathering these materials and tools, you will be well-prepared to 3D print your own Switch game holder. Remember to follow proper safety precautions when operating your 3D printer and handling any tools or materials.
IV. Tips for Printing and Assembling a Switch Game Holder
When it comes to printing and assembling a Switch game holder using a 3D printer, there are a few important tips to keep in mind.
By following these tips, you can ensure a smooth and successful printing process, as well as a sturdy and functional final product.
1. Choose the Right Printing Settings
Before you start printing your Switch game holder, it’s crucial to adjust the printing settings to achieve the best results. Make sure to set the appropriate layer height, infill density, and print speed. These settings will determine the strength and durability of the final product.
2. Use a High-Quality Filament
The choice of filament for your Switch game holder can greatly affect its quality and longevity. Opt for a high-quality filament that is durable and impact-resistant. PLA and ABS are popular options for 3D printing game holders due to their strength and reliability.
3. Consider Adding Support Structures
Depending on the complexity of your Switch game holder design, it may require support structures during the printing process. These structures help prevent sagging or collapsing of overhanging parts. Make sure to enable support structures in your slicing software to ensure a successful print.
4. Sand and Finish the Printed Parts
After the printing is complete, it’s essential to sand and finish the printed parts to achieve a polished and professional look. Use sandpaper to smooth out any rough edges or imperfections. Additionally, consider applying a coat of paint or varnish to enhance the appearance and protect the surface.
5. Test Fit and Adjust as Needed
Before assembling the Switch game holder, it’s a good idea to test fit the printed parts to ensure they fit together properly. If any adjustments are needed, use a file or sandpaper to make minor modifications. This step will ensure a snug and secure fit for your Switch game cartridges.
6. Follow Assembly Instructions Carefully
Lastly, when assembling the Switch game holder, follow the instructions carefully to ensure everything is assembled correctly. Pay attention to the orientation of the parts and the order in which they need to be assembled. Taking your time and being meticulous during this step will result in a sturdy and functional game holder.
7. Enjoy Your Customized Switch Game Holder
Once you’ve completed the printing and assembly process, you can enjoy your customized Switch game holder. Organize and display your game cartridges with ease, knowing that you’ve created a personalized and practical solution for your gaming collection.
Frequently Asked Questions (FAQ) – Switch Game Holder
What is a Switch Game Holder 3D Print?
A Switch Game Holder 3D Print is a 3D printed accessory designed to hold and organize Nintendo Switch game cartridges. It provides a convenient and secure way to store and transport your game collection.
How does the Switch Game Holder 3D Print work?
The Switch Game Holder 3D Print features slots or compartments specifically designed to fit Nintendo Switch game cartridges. You can simply slide the games into the designated slots, ensuring they are held securely in place.
Can I customize the design of the Switch Game Holder 3D Print?
Yes, one of the advantages of 3D printing is its ability to be customized. Depending on the provider, you may have the option to choose from different designs, colors, or even request personalized engravings on the holder.
Is the Switch Game Holder 3D Print durable?
Most 3D printed game holders are made from sturdy materials such as PLA or ABS plastic, which ensures durability and longevity. However, the exact durability may vary depending on the specific design and quality of the print.
Can the Switch Game Holder 3D Print accommodate other gaming cartridges?
While the Switch Game Holder 3D Print is primarily designed for Nintendo Switch game cartridges, some holders may be compatible with other gaming cartridges of similar size, such as those used in the Nintendo 3DS or DS consoles. It is recommended to check the product description or consult the provider for compatibility information.
How do I clean the Switch Game Holder 3D Print?
Cleaning the Switch Game Holder 3D Print is typically straightforward. You can use a soft cloth or sponge with mild soap and water to gently wipe the surface. Avoid using abrasive materials or harsh chemicals that may damage the print.
Can I use the Switch Game Holder 3D Print with a protective case on my Nintendo Switch?
It depends on the specific design of the holder. Some holders are designed to accommodate a Nintendo Switch console with a protective case, while others may not have enough space. It is advisable to check the product description or consult the provider for compatibility information.
Is the Switch Game Holder 3D Print portable?
Yes, the Switch Game Holder 3D Print is designed to be portable. Its compact size and lightweight construction make it easy to carry around, making it convenient for travel or gaming on the go.
Can I purchase a Switch Game Holder 3D Print online?
Yes, there are various online platforms and marketplaces where you can find and purchase Switch Game Holder 3D Prints. These platforms often provide a wide range of designs to choose from, allowing you to find the one that suits your preferences.
How much does a Switch Game Holder 3D Print cost?
The cost of a Switch Game Holder 3D Print can vary depending on factors such as the design complexity, the material used, and the provider’s pricing. Generally, you can find holders in a wide price range, starting from a few dollars up to around $30 or more for premium designs.
Conclusion On Switch Game Holder
With the advancement of 3D printing technology, finding the ideal Switch game holder has never been easier. By utilizing the power of 3D printing, you can create a customized game holder that perfectly fits your Nintendo Switch games. Whether you need a compact holder for on-the-go gaming or a sleek desktop organizer, 3D printing allows you to bring your design ideas to life. Don’t settle for generic game holders – unleash your creativity and get the perfect Switch game holder with 3D printing today!
