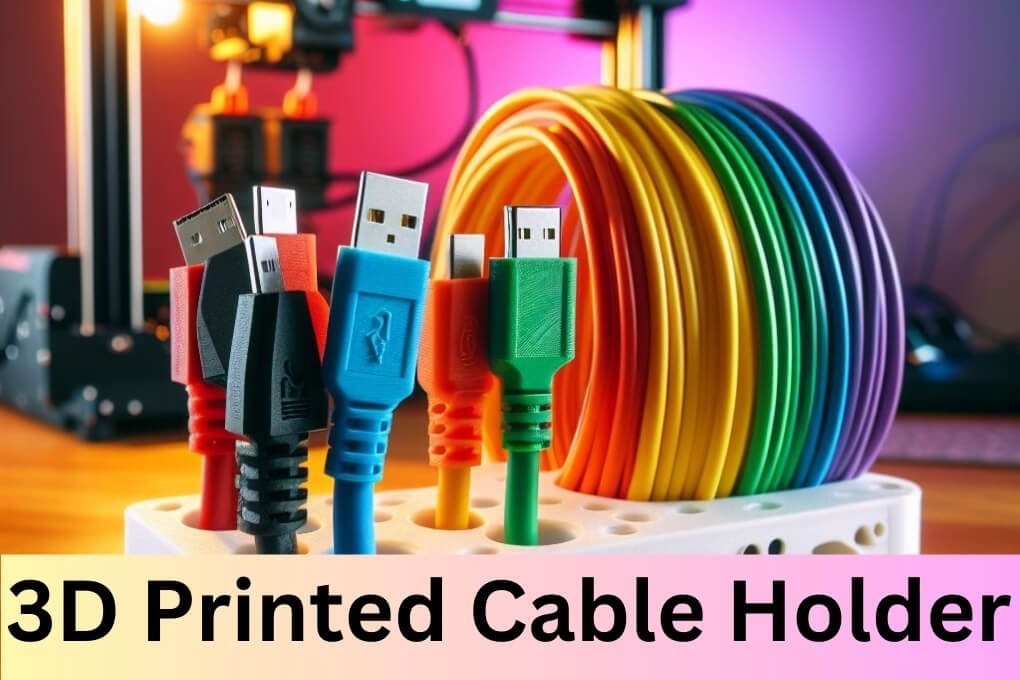
A 3D printed cable holder is a practical and efficient solution for organizing and managing cables in a neat and tidy manner.
Are you tired of tangled and messy cables cluttering your workspace or home? A 3D printed cable holder can be the perfect solution to keep your cables organized and easily accessible. Whether you have cables for your computer, TV, or other electronic devices, a cable holder can help you eliminate the hassle of untangling cords and keep your space clean and tidy. In this article, we will explore the benefits of using a 3D printed cable holder and how it can make your life easier.
I. Benefits of Using a 3D Printed Cable Holder
In today’s technology-driven world, it’s no surprise that we are surrounded by a multitude of cables and wires. Whether it’s for our computers, televisions, or even our smartphones, managing these cables can be a daunting task. That’s where a 3D printed cable holder comes in handy.
Using a 3D printed cable holder offers several benefits:
- Organization: A cable holder helps keep your cables neatly organized, preventing them from tangling and becoming a mess.
- Reduced Clutter: By holding your cables in place, a cable holder reduces clutter on your desk or workspace, making it more visually appealing and easier to navigate.
- Prevents Damage: Cable holders prevent cables from being accidentally pulled or yanked, reducing the risk of damage to both the cables and the devices they are connected to.
- Easy Access: With a cable holder, your cables are easily accessible whenever you need to connect or disconnect devices, saving you time and frustration.
- Customizability: 3D printing allows for endless design possibilities, so you can create a cable holder that perfectly fits your needs and aesthetic preferences.
II. How to Design a 3D Printed Cable Holder
Designing a 3D printed cable holder is a simple and efficient way to organize and manage your cables. With the ability to customize the design to fit your specific needs, 3D printing allows for endless possibilities.
Here is a step-by-step guide on how to design a 3D printed cable holder:
- Identify your cable management needs: Before starting the design process, assess the types and number of cables you need to organize. This will help you determine the size and shape of your cable holder.
- Measure and sketch: Take measurements of your cables and sketch out a rough design for your cable holder. Consider factors such as cable thickness, length, and the space available for mounting.
- Choose a 3D modeling software: There are various 3D modeling software options available, both free and paid. Choose one that suits your skill level and preferences. Popular choices include Tinkercad, Fusion 360, and SketchUp.
- Create the 3D model: Using the measurements and sketch as a guide, start creating your 3D model in the chosen software. Begin by drawing the basic shape and then add details such as slots or clips to hold the cables securely.
- Test and refine: Once the initial design is complete, it’s important to test it before proceeding to 3D printing. Print a prototype using a 3D printer or utilize a 3D modeling software’s simulation tools to ensure the cable holder fits and functions as intended.
- Finalize the design: After making any necessary adjustments based on the prototype, finalize the design by adding finishing touches. This may include rounding edges, adding text or logos, or optimizing the model for 3D printing.
- Export the file: Export the 3D model file in a format compatible with your 3D printer. Common file formats include .STL, .OBJ, or .STEP.
- Prepare for 3D printing: Import the exported file into your slicing software, which will generate the instructions for your 3D printer. Configure settings such as layer height, infill density, and print speed based on your desired results and the capabilities of your printer.
- Print the cable holder: Once the slicing process is complete, transfer the generated file to your 3D printer and start the printing process. Monitor the print to ensure it is progressing smoothly and make any necessary adjustments if issues arise.
- Post-processing: After the print is finished, remove any support structures if applicable and clean up the cable holder. Sand down any rough edges or imperfections and paint or finish the holder if desired.
By following these steps, you can design and 3D print a cable holder that perfectly suits your cable management needs. Enjoy the benefits of a clutter-free workspace and organized cables with your customized 3D printed cable holder!
III. Materials and Tools Required for 3D Printing a Cable Holder
When it comes to 3D printing a cable holder, you will need the following materials and tools to ensure a successful and efficient printing process:
- 3D Printer: A reliable and high-quality 3D printer is essential for achieving accurate and precise results. Make sure to choose a printer that meets your specific needs and budget.
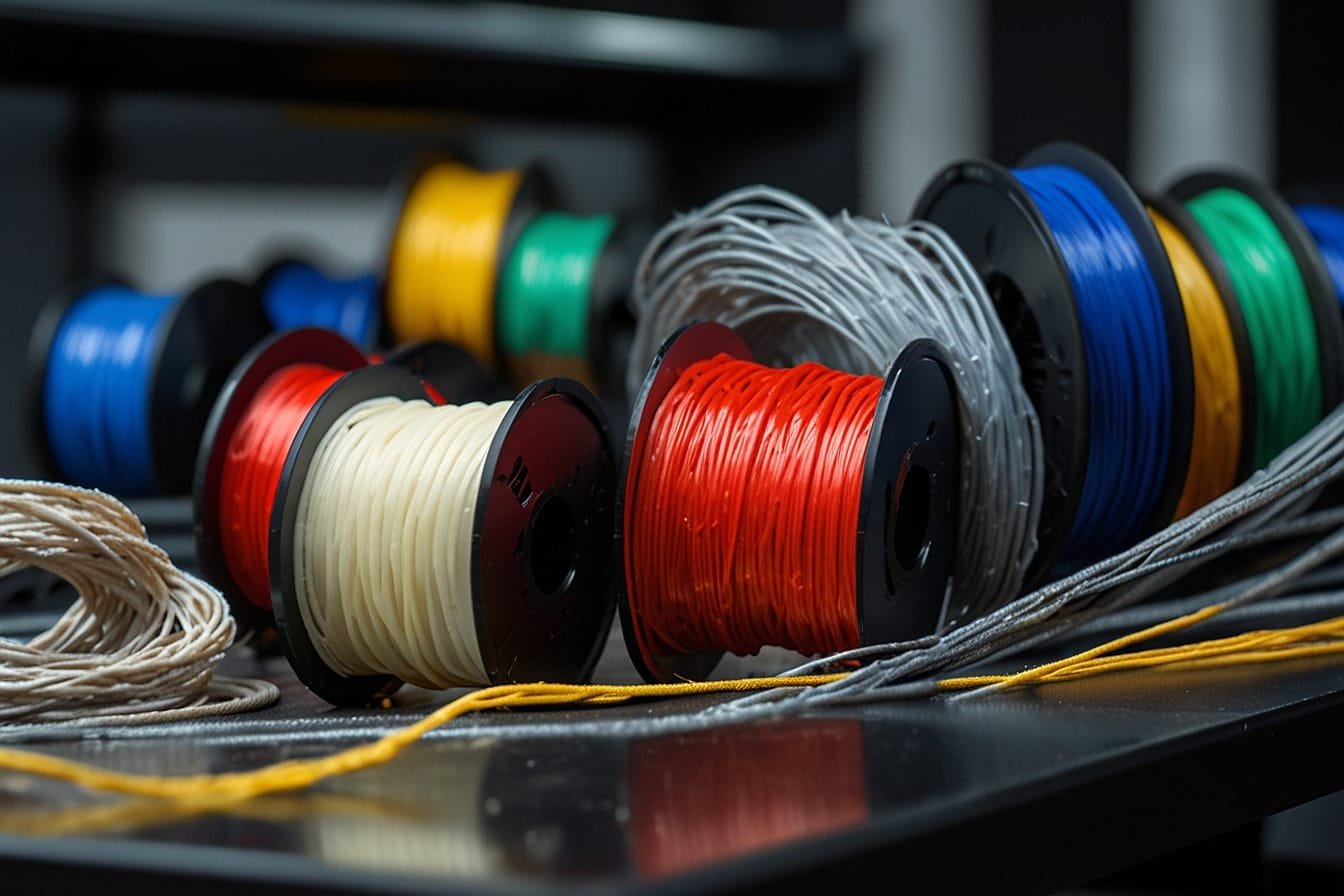
- 3D Printing Filament: Selecting the right filament is crucial for the durability and functionality of your cable holder. Common filament options include PLA, ABS, PETG, and nylon. Consider the specific requirements of your cable holder to determine the best filament material.
- Computer-Aided Design (CAD) Software: You will need CAD software to design your cable holder. Popular options include AutoCAD, Fusion 360, and Tinkercad. Familiarize yourself with the software and its features to create an optimized design.
- Calipers: Calipers are essential for measuring precise dimensions of your cables and ensuring a proper fit. Accurate measurements will help you design a cable holder that securely holds your cables in place.
- Support Material: Depending on the complexity of your cable holder design, you may need support material to prevent any sagging or collapsing during the printing process. Support material is typically used for overhangs and intricate details.
- Scraper or Spatula: A scraper or spatula is necessary for removing the printed cable holder from the build plate. Be gentle to avoid damaging the print or the build surface.
- Sanding Tools: Sanding tools such as sandpaper or a sanding block can be used to smooth out any rough edges or imperfections on the printed cable holder. This step is optional but can enhance the overall appearance and functionality of the holder.
- Paint or Sealant (optional): If desired, you can use paint or a sealant to add a personal touch or provide additional protection to your cable holder. Choose a paint or sealant that is compatible with the filament material you are using.
By gathering these materials and tools, you will be well-prepared to embark on your 3D printing journey and create a functional and customized cable holder that meets your specific needs.
IV. Tips for Successful 3D Printing of Cable Holders
When it comes to 3D printing cable holders, there are a few tips and tricks that can help ensure a successful print.
Follow these guidelines to achieve the best results:
- Choose the right filament: Select a filament that is suitable for cable holders, such as PLA or ABS. These materials offer good strength and durability.
- Optimize your design: Make sure your cable holder design is optimized for 3D printing. Avoid designs with overhangs or intricate details that may be challenging to print.
- Use proper support structures: If your design requires support structures, make sure to add them in your 3D printing software. This will help prevent sagging or warping during the printing process.
- Ensure proper bed adhesion: To prevent your cable holder from detaching from the print bed during printing, ensure proper bed adhesion. Use a clean and level print bed, and consider using adhesion aids such as a brim or a raft.
- Adjust print settings: Experiment with different print settings to find the optimal configuration for your cable holder. This includes adjusting layer height, print speed, and temperature settings.
- Check for print errors: Regularly monitor your print to catch any errors or issues early on. This will allow you to make adjustments or stop the print if necessary.
- Post-process if needed: After the print is complete, inspect the cable holder for any imperfections. If necessary, use sandpaper or a file to smooth out rough edges or remove any support structures.
By following these tips, you can ensure a successful 3D printing experience and end up with high-quality cable holders that meet your needs.
FAQs For 3D Printed Cable Holder
What is a 3D printed cable holder?
A 3D printed cable holder is a small device created using 3D printing technology that is used to organize and manage cables, preventing them from tangling or getting in the way.
How does a 3D printed cable holder work?
A 3D printed cable holder typically features various slots or grooves that allow you to insert and secure cables. The holder can be attached to a surface using adhesive or screws, providing a convenient way to keep cables organized and easily accessible.
What are the benefits of using a 3D printed cable holder?
Using a 3D printed cable holder helps to eliminate cable clutter, making it easier to identify and access the cables you need. It also prevents cables from tangling, reducing the risk of damage and making cable management more efficient.
Can I customize a 3D printed cable holder?
Yes, one of the advantages of 3D printing is its ability to create customized designs. You can modify the size, shape, and number of cable slots to fit your specific needs.
What materials are commonly used for 3D printed cable holders?
PLA (Polylactic Acid) and ABS (Acrylonitrile Butadiene Styrene) are popular materials for 3D printed cable holders. Both materials offer durability and flexibility, making them suitable for holding and securing cables.
How do I install a 3D printed cable holder?
Installation methods may vary depending on the design of the cable holder. Some holders can be attached using adhesive pads, while others may require screws or other mounting hardware. The specific installation instructions should be provided with the cable holder.
Can a 3D printed cable holder support heavy cables?
While 3D printed cable holders can provide support for lightweight and moderately heavy cables, it is important to consider the strength and design of the holder. For heavier cables, it may be necessary to reinforce the holder or consider alternative cable management solutions.
Can I paint or decorate a 3D printed cable holder?
Yes, you can paint or decorate a 3D printed cable holder using suitable paints or coatings. However, ensure that the chosen materials do not interfere with the functionality or durability of the holder.
Can I share or sell my 3D printed cable holder designs?
Yes, you can share or sell your 3D printed cable holder designs if you created them yourself. However, be mindful of any copyright or intellectual property rights associated with the design. It is always best to seek legal advice if you are unsure.
Where can I find 3D printed cable holder designs?
You can find 3D printed cable holder designs on various online platforms, such as Thingiverse, MyMiniFactory, or YouMagine. These platforms offer a wide range of designs that you can download and print on your own 3D printer.
Conclusion on 3D Printed Cable Holder
In conclusion, a 3D printed cable holder is a practical and efficient solution for organizing cables and reducing clutter. With its customizable design and easy installation, it provides a seamless way to keep cables neatly arranged and easily accessible. The use of 3D printing technology ensures a durable and long-lasting product. Say goodbye to tangled cords and hello to a tidier workspace with a 3D printed cable holder.
