A 3D print switch game holder is a convenient and stylish way to organize and display your Nintendo Switch games.
If you’re tired of searching through drawers or losing track of your game cartridges, a 3D printed game holder can help you keep everything in one place. With its sleek design and customizable options, you can create a holder that matches your personal style while keeping your games easily accessible. Whether you’re a casual gamer or a serious collector, a 3D print switch game holder is a must-have accessory for any Nintendo Switch owner.
I. Benefits of Using a 3D Printed Switch Game Holder
When it comes to organizing and storing your Nintendo Switch games, a 3D printed game holder can be a game-changer.
Here are some of the benefits of using a 3D printed switch game holder:
- Customizability: With 3D printing, you have the freedom to design and create a game holder that perfectly fits your needs. Whether you want a compact holder for traveling or a larger one to display your game collection, you can easily customize the design to your liking.
- Efficient Use of Space: A 3D printed game holder allows you to neatly organize your Switch games, saving valuable space on your shelves or in your gaming setup. By keeping your games in one place, you can easily find and access them whenever you want to play.
- Durability: 3D printed game holders are typically made from strong and durable materials, such as PLA or ABS plastic. This ensures that your game holder will last for a long time, providing a reliable storage solution for your Switch games.
- Cost-Effective: Compared to purchasing a pre-made game holder, 3D printing your own can be a cost-effective option. Once you have access to a 3D printer, you can create multiple game holders for a fraction of the cost.
- Creative Expression: Designing and printing your own game holder allows you to express your creativity and personal style. You can experiment with different colors, textures, and designs to create a unique and eye-catching game holder.
II. How to Design a 3D Printed Switch Game Holder
Designing a 3D printed Switch game holder is a fun and creative way to keep your game cartridges organized and easily accessible.
Here is a step-by-step guide on how to design your own personalized Switch game holder:
1. Determine the Size and Shape
The first step in designing a Switch game holder is to determine the size and shape that will best suit your needs. Consider the number of game cartridges you have and how you would like them to be arranged. You can choose to design a simple rectangular holder or get creative with different shapes and compartments.
2. Use CAD Software
Once you have a clear idea of the size and shape, it’s time to use Computer-Aided Design (CAD) software to create your design. There are many CAD software options available, both free and paid. Some popular choices include Fusion 360, Tinkercad, and SketchUp. Use the software to create a 3D model of your game holder, making sure to include slots or compartments for the game cartridges.
3. Add Personalization
To make your Switch game holder truly unique, consider adding personalization elements. You can incorporate your favorite colors, patterns, or even engrave your name or initials on the holder. CAD software allows you to easily add these personal touches to your design.
4. Test and Refine
Before sending your design for 3D printing, it’s important to test and refine it. Check the dimensions and ensure that the game cartridges fit snugly in the slots or compartments. Make any necessary adjustments to improve the functionality and aesthetics of your design.
5. Export the Design
Once you are satisfied with your design, export it as an STL file. This file format is widely used for 3D printing and can be read by most 3D printers.
6. Choose the Right 3D Printer
Now that you have your STL file, it’s time to choose the right 3D printer for your project. Consider factors such as print quality, print speed, and the size of the printer’s build plate. Research different models and read reviews to find the best option for your needs.
7. Prepare the Printer and Material
Before starting the 3D printing process, make sure your printer is properly calibrated and the build plate is clean. Choose the appropriate material for your game holder, such as PLA or ABS, and load it into the printer.
8. Start Printing
With your printer and material ready, it’s time to start the printing process. Use the 3D printer software to load the STL file and adjust the print settings according to your preferences. Start the print and wait for your Switch game holder to take shape.
9. Post-Processing
Once the printing is complete, carefully remove the printed game holder from the build plate. Depending on the material used, you may need to do some post-processing, such as sanding or painting, to achieve the desired finish.
10. Enjoy Your Custom Switch Game Holder
After post-processing, your 3D printed Switch game holder is ready to use. Insert your game cartridges into the designated slots or compartments and enjoy the convenience and organization it provides.
III. Materials and Tools Needed for 3D Printing a Switch Game Holder
In order to successfully 3D print a Switch game holder, you will need the following materials and tools:
Materials:
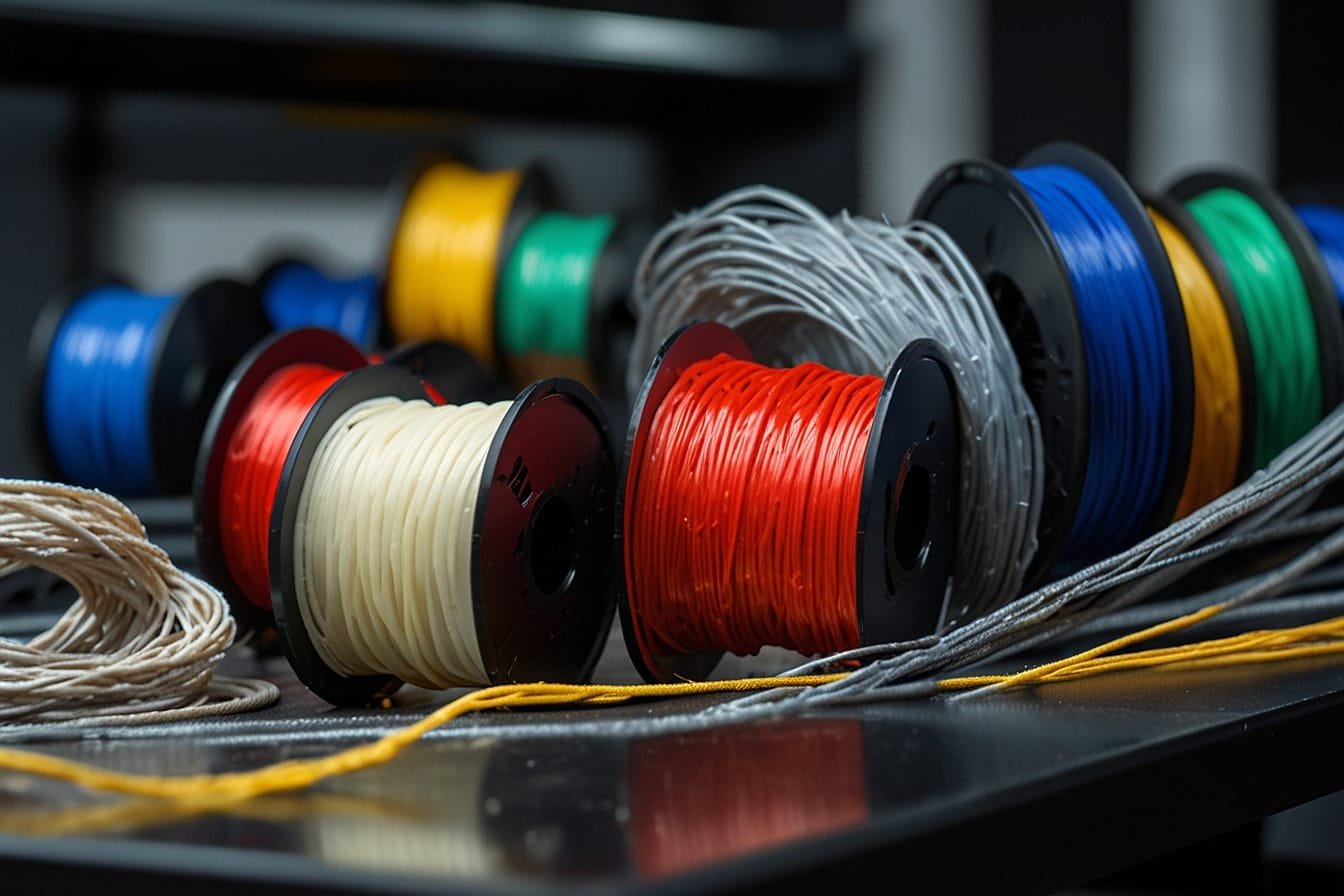
- 3D Printer Filament: Choose a high-quality filament that is compatible with your 3D printer. PLA (polylactic acid) is a popular choice for its ease of use and durability.
- Switch Game Holder Design File: You can either create your own design using CAD software or download a pre-made design file from online repositories such as Thingiverse or MyMiniFactory.
Tools:
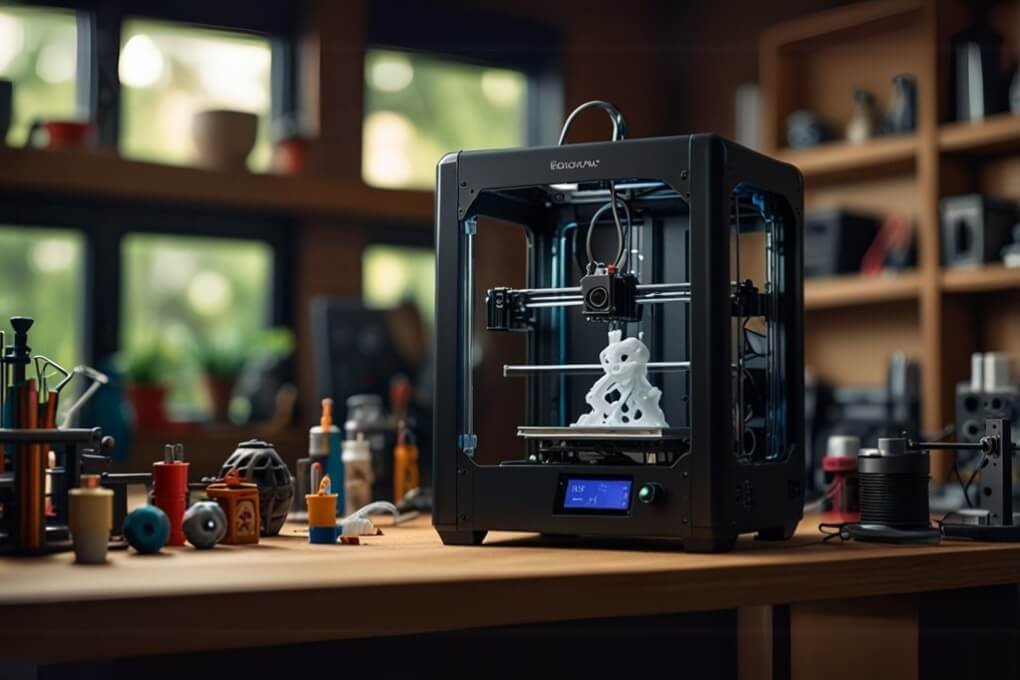
- 3D Printer: You will need a 3D printer capable of printing in the desired filament material.
- Slicing Software: This software is used to convert the 3D model file into instructions that the 3D printer can understand. Popular slicing software options include Ultimaker Cura, PrusaSlicer, and Simplify3D.
- Computer: A computer is necessary to run the slicing software and transfer the sliced file to the 3D printer.
- SD Card or USB Cable: Depending on your 3D printer, you will need either an SD card or a USB cable to transfer the sliced file to the printer.
- Calipers: Calipers are useful for measuring the dimensions of your Switch game cartridges to ensure a precise fit.
- Sanding Tools: Sandpaper or sanding blocks can be used to smooth out any rough edges or imperfections in the printed game holder.
By having these materials and tools ready, you will be well-equipped to begin the 3D printing process and create your own custom Switch game holder.
IV. Tips for Successful 3D Printing of a Switch Game Holder
When it comes to 3D printing a Switch game holder, there are a few tips and tricks that can help ensure a successful print.
Follow these guidelines to achieve the best results:
- Choose the right filament: Selecting the appropriate filament for your project is crucial. For a durable and sturdy game holder, consider using PLA or ABS filament. These materials are commonly used in 3D printing and offer good strength and durability.
- Calibrate your printer: Proper calibration of your 3D printer is essential to achieve accurate and precise prints. Make sure to level the print bed and calibrate the extruder to ensure the correct flow of filament.
- Optimize your design: Before printing, take some time to optimize your design for 3D printing. This includes ensuring proper wall thickness, adding support structures if necessary, and minimizing overhangs to avoid print failures.
- Use a heated bed: If your printer has a heated bed, it is recommended to use it when printing a Switch game holder. A heated bed helps with bed adhesion and prevents warping of the printed object.
- Print at the right temperature: Different filaments have different optimal printing temperatures. Make sure to set the correct temperature for the filament you are using to achieve the best print quality.
- Check for print errors: Regularly monitor your print to catch any errors or issues that may arise. Look out for layer shifting, filament jams, or any other problems that may affect the quality of your print.
- Post-processing: Once your print is complete, it may require some post-processing to achieve the desired finish. This can include removing support structures, sanding rough edges, and applying a coat of paint or finish for a polished look.
By following these tips, you can ensure a successful 3D printing process for your Switch game holder. Remember to experiment and iterate on your design to achieve the perfect fit and functionality for your gaming needs.
Frequently Asked Questions For 3D Print Switch Game Holder
What is a 3D print switch game holder?
A 3D print switch game holder is a device designed to securely hold Nintendo Switch game cartridges and keep them organized.
How does a 3D print switch game holder work?
The holder is designed with slots or compartments that perfectly fit Nintendo Switch game cartridges. Users can insert their games into the designated slots, ensuring they are safely stored and easily accessible.
Can I customize the design of a 3D print switch game holder?
Yes, one of the advantages of 3D printing is the ability to customize designs. Depending on the model and availability, you may be able to find or create a design that suits your preferences.
Do I need a 3D printer to get a switch game holder?
Yes, in order to obtain a 3D print switch game holder, you will either need access to a 3D printer or find a service that offers 3D printing services.
What materials are commonly used for 3D printing a switch game holder?
Common materials used for 3D printing a switch game holder include PLA (Polylactic Acid) and ABS (Acrylonitrile Butadiene Styrene), which are durable and widely available.
Are 3D print switch game holders compatible with all Nintendo Switch game cartridges?
Most 3D print switch game holders are designed to be compatible with standard Nintendo Switch game cartridges. However, it’s always recommended to check the specifications or dimensions of the holder before purchasing or printing.
Can a 3D print switch game holder hold other accessories?
While the primary purpose of a 3D print switch game holder is to store game cartridges, some models may have additional slots or compartments to hold other accessories like SD cards, styluses, or even Joy-Con controllers.
Are there any advantages of using a 3D print switch game holder?
Yes, a 3D print switch game holder helps keep your game cartridges organized, protected from dust, and easily accessible. It can also be a visually appealing accessory for your gaming setup.
Can I sell or share 3D print switch game holder designs?
It depends on the specific design and licensing terms. Some designers may offer their designs for free or for personal use only, while others may allow for commercial use or modification. Always respect the licensing terms and seek permission when necessary.
Where can I find 3D print switch game holder designs?
You can find 3D print switch game holder designs on various online platforms, such as Thingiverse, MyMiniFactory, or even community forums dedicated to 3D printing. Make sure to choose a design that suits your needs and matches the dimensions of your game cartridges.
