If you’ve been experiencing issues with your Toybox 3D printer not sticking properly, you’re not alone. This common problem can be frustrating, but don’t worry – we’re here to help. In this article, we’ll explore the reasons behind this issue and provide you with practical solutions and troubleshooting tips to get your Toybox 3D printer back on track.
Reasons for Toybox 3D Printer Not Sticking
There are several reasons why your Toybox 3D printer may not be sticking properly. Let’s take a closer look at some common causes:
1. Inadequate Bed Leveling
One of the primary reasons for poor adhesion is an improperly leveled print bed. When the bed is not level, the distance between the nozzle and the bed is inconsistent, resulting in parts that do not stick properly. Make sure to follow the manufacturer’s instructions to properly level the bed before each print.
If you’re unsure how to level the bed, consult the printer’s user manual or check for online tutorials specific to your Toybox 3D printer model.
Once the bed is properly leveled, you should see an improvement in the adhesion of your prints.
2. Ineffective Cleaning
An unclean printing surface can also contribute to poor adhesion. Dust, oils, and residue from previous prints can prevent the filament from sticking to the bed. Before each print, clean the bed surface with isopropyl alcohol or a mild detergent to ensure it’s free from debris.
Additionally, consider using a specialized adhesive such as a 3D printing glue stick or spray. These products create a temporary bond between the bed and the print, promoting better adhesion.
Regularly cleaning the bed and using adhesive can significantly improve the sticking capabilities of your Toybox 3D printer.
3. Faulty Filament
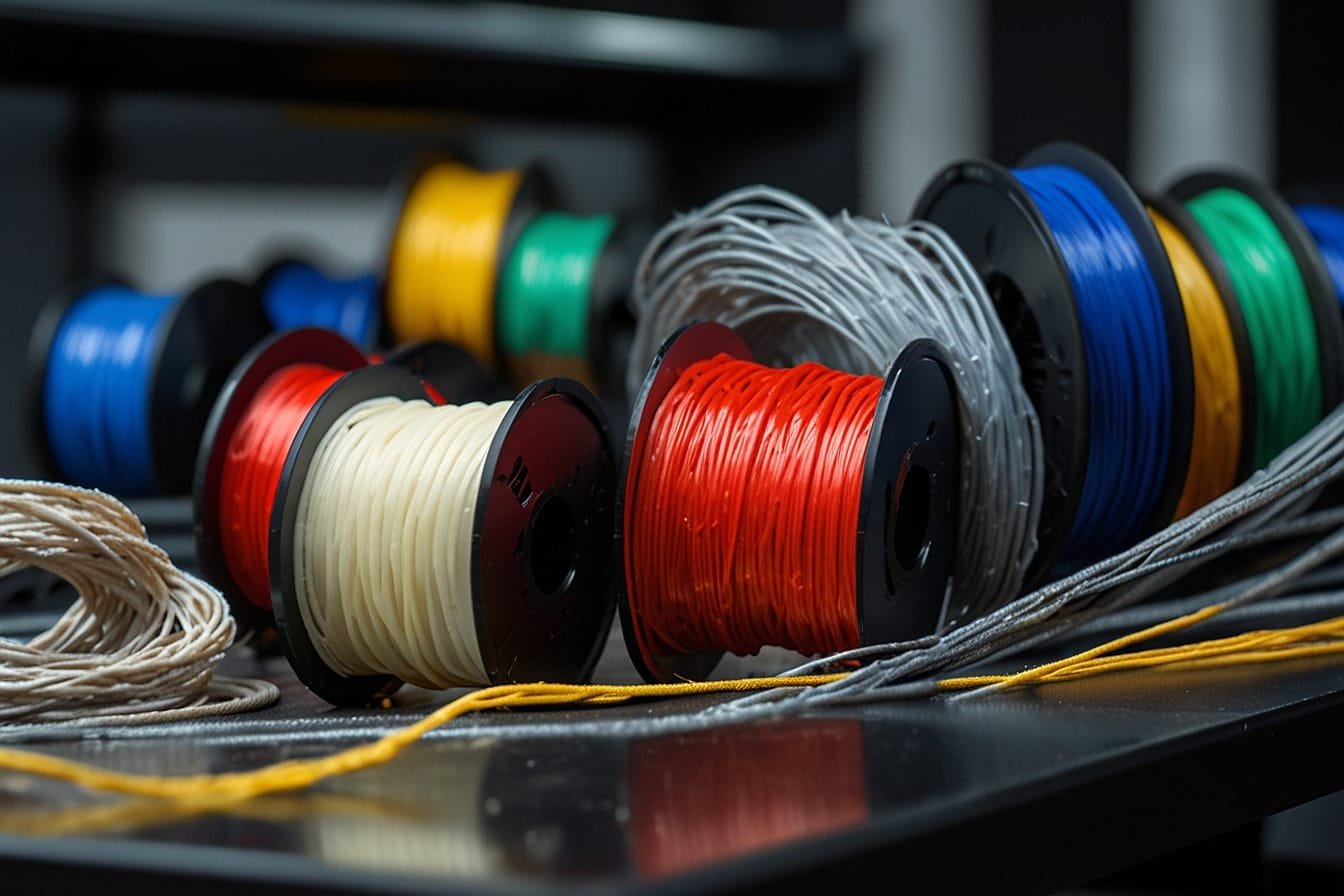
In some cases, the problem may lie with the filament itself. Low-quality or expired filament can lead to poor adhesion and failed prints. Ensure that you are using high-quality filament that is compatible with your Toybox 3D printer.
If you suspect that the filament is the issue, try a different spool or brand to see if the adhesion improves. It’s also a good idea to check the filament’s expiration date, as expired filament can become brittle and less effective.
By using quality filament that is within its recommended lifespan, you can minimize the chances of your prints not sticking.
4. Insufficient Bed Temperature
The temperature of the print bed plays a crucial role in ensuring proper adhesion. If the bed temperature is too low, the filament may not bond effectively, resulting in prints that do not stick. Check the recommended bed temperature for the type of filament you’re using and adjust it accordingly in your printer settings.
Using a heated bed or increasing the bed temperature within the recommended range can improve adhesion and prevent prints from lifting or detaching during the printing process.
Be sure to monitor and adjust the bed temperature as needed, based on the filament material and the manufacturer’s recommendations.
5. Print Speed and Cooling Settings
The speed at which your Toybox 3D printer is printing and the cooling settings can also impact adhesion. If the print speed is too fast or the cooling is inadequate, the filament may not have enough time to properly adhere to the bed, resulting in poor sticking.
Take a look at your printer settings and adjust the print speed and cooling settings accordingly. Slowing down the print speed or increasing cooling can give the filament more time to adhere to the bed and improve the overall sticking performance.
Experiment with different speed and cooling settings to find the optimal balance for your specific printer and filament combination.
6. Warped or Uneven Print Bed
A warped or uneven print bed can also contribute to poor adhesion. If the bed is not flat or has imperfections, it can create gaps between the nozzle and the surface, preventing proper adhesion.
Inspect your print bed for any signs of warping or unevenness. If you notice any issues, you may need to replace or repair the bed. Contact the manufacturer or refer to the user manual for guidance on how to address this issue.
By ensuring a flat and even print bed, you can improve the adhesion of your prints and prevent them from detaching during the printing process.
Key Takeaways: Troubleshooting the Toybox 3D Printer Not Sticking Issue
- Ensure the printer bed is clean and free from debris.
- Use quality 3D printing filament for better adhesion.
- Check if the printer bed temperature is set correctly.
- Apply a suitable adhesive, such as glue stick or hairspray, to improve the sticking ability.
- Adjust the leveling of the printer bed to ensure proper contact with the filament.
Frequently Asked Questions For Toybox 3D Printer Not Sticking
Are you experiencing issues with your Toybox 3D printer not sticking? Don’t worry, we’ve got you covered. Check out these commonly asked questions for solutions to your printing problems.
Why is my Toybox 3D printer not sticking to the print bed?
There could be a few reasons why your prints are not sticking to the print bed. Firstly, make sure your print bed is clean and free from any debris or residue. Use isopropyl alcohol or another recommended cleaning solution to ensure a smooth surface for adhesion. Additionally, check the leveling of your print bed to ensure it is properly calibrated. If it is not level, adjust the bed to achieve the correct height relative to your nozzle. Lastly, make sure you’re using the appropriate print settings for your filament and print bed material. Adjusting the temperature and print speed might help improve adhesion.
If you’ve tried all these solutions and are still having issues, it’s possible that your print bed surface needs to be replaced. Consider purchasing a new print bed or a specific print surface that is known to provide better adhesion, such as a glass bed or a specialized adhesive sheet.
How can I improve adhesion on my Toybox 3D printer?
If you’re looking to enhance the adhesion of your prints, there are a few techniques you can try. First, ensure that the print bed is clean before each print by removing any dust or debris. Use a lint-free cloth or a recommended cleaning solution to wipe the surface. Additionally, adjusting the print bed temperature can help improve adhesion. Increasing the temperature can make the first layer of filament melt more, allowing it to bond better with the print bed. Experiment with different temperatures to find the optimal setting for your prints.
Another option to improve adhesion is to use a print bed adhesive. This could be a specialized adhesive spray, a glue stick, or even a product specifically designed for 3D print bed adhesion. Apply a thin layer of the adhesive to the print bed before starting your print. However, be cautious not to use too much adhesive, as this could lead to difficulties in removing your finished prints.
Why do my prints sometimes warp or curl up even if they stick initially?
Warping or curling of prints, even if they initially stick to the print bed, can be caused by various factors. One common reason is a temperature difference between the print bed and the ambient environment. Ensuring a controlled printing environment can help minimize this issue. Consider using a 3D printer enclosure to create a stable temperature and reduce drafts that might affect your prints.
Another factor that can contribute to warping or curling is insufficient cooling of the printed filament. If the filament cools down too quickly, it can contract and cause the edges of your print to lift. Adjusting the cooling settings in your slicing software or adding a fan to cool the print while it’s in progress can help mitigate this problem.
What should I do if my Toybox 3D printer is not extruding properly?
If your Toybox 3D printer is experiencing extrusion issues, there are a few steps you can take to troubleshoot. Firstly, check that the filament is loaded correctly and properly inserted into the extruder assembly. Make sure there are no obstructions or tangled filament preventing smooth extrusion. If needed, unload and reload the filament to ensure a proper feed.
Next, ensure that the nozzle is not clogged. Heat the extruder to the recommended temperature for the filament you’re using and, using a cleaning needle or filament, attempt to clear any blockages. If this doesn’t solve the problem, you may need to replace or clean the nozzle altogether. Additionally, ensure that your filament is not old or brittle, as this can impede proper extrusion. Replace any old or compromised filament with fresh, high-quality filament.
How can I maintain my Toybox 3D printer to prevent printing issues?
Maintaining your Toybox 3D printer is crucial for optimal performance and to prevent printing issues. Regularly check and clean the print bed to remove any debris or residue that may affect adhesion. Use the cleaning solutions recommended by the printer manufacturer to ensure a clean and level surface for your prints. It’s also important to keep the extruder and nozzle clean by regularly removing any filament residue or clogs.
In addition to cleaning, regularly calibrate your print bed to ensure proper leveling. Follow the manufacturer’s instructions or use the auto-leveling feature, if available, to make necessary adjustments. Lastly, regularly update your printer firmware and ensure that your slicing software is using the correct settings for your printer model and filament type. Staying up to date with the latest software updates and settings can help prevent many printing issues.
Summary On Toybox 3D Printer Not Sticking
Your 3D printer not sticking? Don’t worry, it’s a common issue that can be fixed.
First, check your print bed level and make sure it’s not too far from the nozzle. Next, clean the print bed to remove any dust or debris that could be causing the prints to fail.
Then, try adjusting the printing temperature to see if that helps with the adhesion. If all else fails, consider using a different type of print surface or applying a print adhesive like hairspray or glue stick. With a few tweaks and some patience, you’ll have your prints sticking perfectly in no time!
