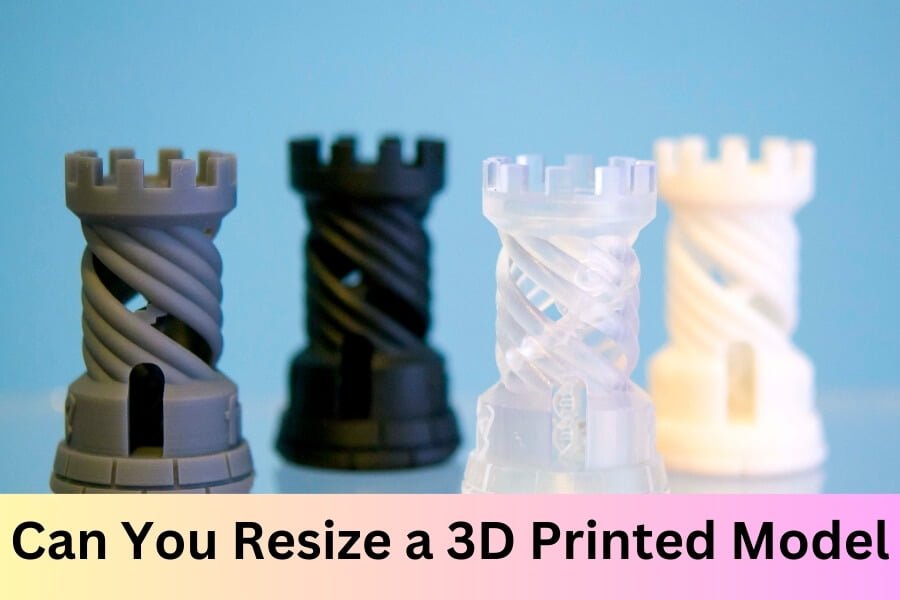
Yes, you can resize a 3D printed model, both digitally before printing and physically after printing. Scaling a digital model requires 3D software, while physical alteration can be more complex.
Resizing a 3D printed model is a common practice in the realm of 3D printing, catering to both professionals and hobbyists alike.
Whether adjusting for a different purpose, improving fit, or experimenting with the design, the flexibility to scale models is essential.
In the digital phase, resizing is as simple as tweaking dimensions within modeling software.
This offers precision and the ability to perfect a design before the printing process begins.
The physical resizing of an already printed model can involve more hands-on techniques such as cutting, reassembling, or even melting parts together to achieve the desired size.
While less exact than digital scaling, physical modifications allow for customization beyond the initial print, ensuring functionality and adaptability in the rapidly evolving world of 3D printing.
What Is 3d Printing Scaling?
Welcome to the transformative world of 3D printing where customization is at your fingertips!
But once you’ve crafted your perfect 3D model, what do you do if it’s not quite the right size?
Fear not, for you’ve ventured into the realm of 3D Printing Scaling, a process that can make or break your design endeavors.
1. Definition And Basics
Before diving into the world of 3D printing, it’s essential to understand the basics of scaling. Simply put, scaling is the process of adjusting the dimensions of a 3D model before it’s printed.
Whether you need to enlarge a miniature figurine or reduce a prototype to fit a particular space, scaling is the tool that enables these changes.
It’s like having a magic wand that can shrink or expand your creations without altering their proportions or losing any detail.
- Resizing: Change the model dimensions while keeping its design intact.
- Maintaining proportionality: Ensuring that all aspects of the model scale uniformly.
- Software capabilities: Utilizing 3D printing software to specify new dimensions or scale percentages.
2. Importance Of Scaling In 3d Printing
3D printing scaling is more than just altering sizes; it’s about preserving the integrity and functionality of the design.
The importance of scaling cannot be overstated, as it impacts not just the aesthetics but also the practical application of the printed model.
| Aspect | Importance of Scaling |
| Fitting Components Together | Ensures that parts will connect accurately in multi-piece projects. |
| Material Savings | Adjusting size can reduce material usage and overall costs. |
| Printing Time | Smaller objects can be printed faster, while larger ones take more time. |
| Detail Preservation | Proper scaling maintains the original details and quality of the model. |
Whether refining a design for a prototype or customizing objects for personal use, scaling is a critical step in the 3D printing process.
Through thoughtful adjustment of a model’s dimensions, artists and engineers alike ensure their creations meet the desired specifications and functionality, paving the way for successful prints every time.
Material Considerations
As we delve into the transformative world of resizing 3D printed models, it’s imperative to bear in mind that different materials bring unique challenges and opportunities.
Each material responds differently to resizing, with factors like thermal expansion, rigidity, and printing resolution coming into play.
Understanding these properties is crucial for achieving precision and functionality in your scaled model.
Let’s unpack how material choice influences the scaling process and explore strategies to navigate these waters successfully.
1. Impact On Scaling
When scaling a 3D printed model, the impact on the material can be significant. Thermal properties, for instance, can either be an ally or an adversary.
Materials with high thermal expansion may distort when resized, while those with low expansion maintain their integrity better.
Additionally, materials vary in their minimum feature size, which affects the level of detail possible in a resized model.
Remember, rigidity and strength can also alter when dimensions change, potentially leading to structural weaknesses if not accounted for.
2. Tips For Different Materials
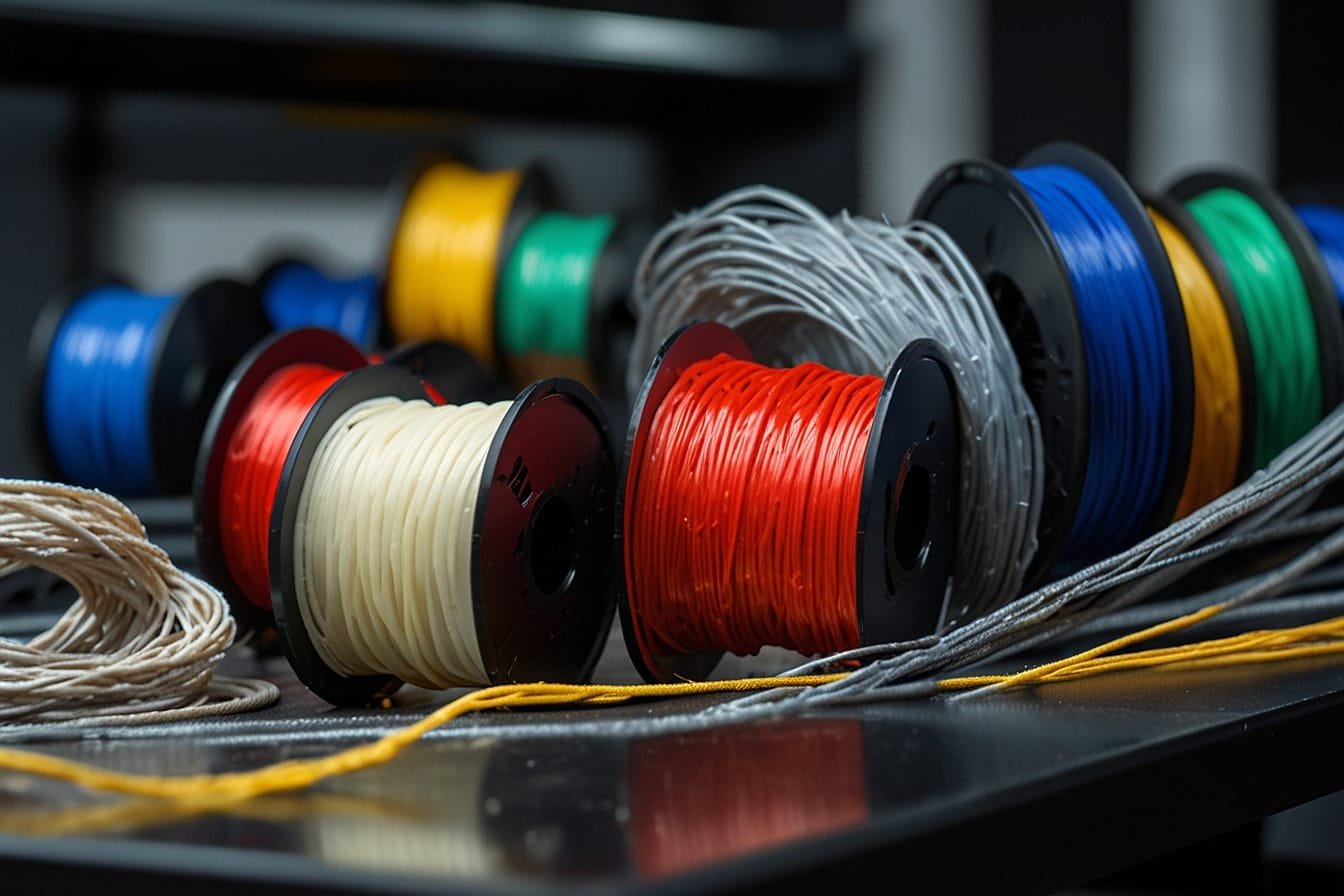
- PLA: Noted for its ease of use, PLA does well with uniform scaling. Retain details by avoiding overheating during the resizing process.
- ABS: While tougher than PLA, ABS can warp if cooled too quickly. Scale with attention to temperature control for optimal results.
- Resins: UV-sensitive resins require careful attention to curing times when resized. Small adjustments can make a big difference in outcome.
- Nylon: Renowned for its flexibility, but scaling may affect its tensile strength. Ensure uniform cooling to prevent warping.
- Metal: Metal-infused filaments or sintered metals may require specialized equipment for effective resizing. Consider professional services if available.
Keep in mind that each material may require specific adjustments in printer settings.
These adjustments include layer height, print speed, and infill density, all of which play a pivotal role in how the resized object will turn out.
Keeping an inventory of test prints and recording the adjustments can serve as a valuable reference for future scaling endeavors.
Design Complexity
When it comes to 3D printing, resizing a model isn’t always a straightforward process. Design complexity plays a crucial role in determining whether a model can be scaled up or down successfully.
Intricate details, thin walls, and interlocking components can pose significant challenges when adjusting the size of a 3D-printed object.
Understanding the relationship between the complexity of a design and its scalability is vital for achieving the desired results without compromising structural integrity or aesthetic detail.
1. How Complexity Impacts Scaling
The intricate details of a 3D model directly influence its ability to be resized. Small features, like embossed text or fine textures, may become unprintable when scaled down due to the limitations of the printing technology.
Conversely, enlarging a model can lead to exaggerated features or require additional support structures.
The key aspects to consider include:
- Tolerance thresholds: Precision in fitting parts may be compromised when dimensions change.
- Details and textures: Subtle design elements risk being lost or becoming too pronounced.
- Structural integrity: Thin walls might not scale evenly, causing potential weaknesses.
Let’s dive into the strategies to address these scaling challenges.
2. Mitigating Complex Scaling Challenges
To manage the effects of scaling on complex designs, several approaches can be employed:
- Software Solutions: Using slicing software with advanced features to adjust model parameters effectively.
- Design Tweaking: Manually refining the model to ensure that critical details remain intact and printable.
- Iterative Prototyping: Creating multiple prototypes to test different scales and refine them as needed.
An understanding of the underlying printing technology is also essential. For instance, different printers and materials have unique capabilities and limitations that can affect the outcome of scaled models.
Software Tools For Scaling
Embarking on the journey of 3D printing brings forth an array of creative possibilities, and one of the crucial aspects that greatly enhances these possibilities is the ability to resize and scale models.
Whether you’re adjusting an existing design to fit a specific purpose or optimizing the size for efficient printing, the right software tools for scaling are essential.
In this exploration, we delve into the spectrum of popular software solutions that empower users with the capability to scale 3D models with precision and ease.
1. Overview Of Popular Tools
Diving into the digital toolkit of a 3D aficionado, one discovers a variety of software applications designed to meet the demands of model scaling.
To assist in navigating the options, a curated list of widely recognized and acclaimed tools emerges:
- Blender: An open-source suite well-regarded for its comprehensive set of modeling tools.
- SolidWorks: A professional-grade CAD software with robust scaling capabilities.
- Autodesk Fusion 360: A cloud-based platform ideal for not only scaling but also designing and simulating 3D models.
- Meshmixer: A tool specifically crafted for mesh editing, offering straightforward resizing functionalities.
2. Features And Functions
When evaluating software tools for their scaling prowess, one must consider the array of features and functions that set them apart.
Each application brandishes its own unique strengths:
| SoftwareKey | Features | Scaling Functions |
| Blender | Advanced mesh and vertex editing, modifier stack, non-destructive scaling. | Uniform, axis-specific, or custom dimension scaling techniques. |
| SolidWorks | Dedicated scale feature, parametric modeling capability, design validation tools. | Proportional scaling based on reference geometries or specified parameters. |
| Autodesk Fusion 360 | Dedicated scale feature, parametric modeling capability, and design validation tools. | Parametric and direct manipulation of size and proportions. |
| Meshmixer | User-friendly interface, versatile mesh editing, Boolean operations. | Direct on-handle scaling, percentage scaling, and size adjustments through measurements. |
Each tool provides unique scaling functionalities designed to give users control over the final print dimensions.
From Blender’s accurate manipulation of mesh proportions to SolidWorks’ precision engineering scaling, these software platforms ensure that adjustments are not only possible but also remarkably intuitive.
Autodesk Fusion 360 streamlines the process with its cloud-based platform, while Meshmixer presents an accessible option for those focused on mesh-centric projects.
Empowered with knowledge of these software tools, 3D printing enthusiasts possess the capacity to transform and adapt any model to their exact specifications, ensuring that creativity knows no bounds – and that scaling is just a few clicks away.
Scaling Techniques
Adjusting the size of a 3D printed model can be an essential step in the process of perfecting your print.
Whether you’re looking to make a model fit a specific space or you’re scaling up for a grand display, the power of resizing can be harnessed through several scaling techniques.
A deeper understanding of the following methods will unlock a new level of control in your 3D printing endeavors.
1. Proportional Scaling Methods
Proportional scaling is the go-to technique when maintaining the integrity of the model’s dimensions is crucial.
For instance, when creating a perfectly symmetrical piece or ensuring all parts will fit together seamlessly, adhering to the original proportions is key.
- Uniform Scaling Tool: Most 3D printing software includes a tool specifically for uniform scaling. This feature adjusts all axes (X, Y, and Z) in harmony.
- Percentage Increase or Decrease: By entering a percentage value, users can quickly scale their model up or down. A value above 100% enlarges the model, while below 100% shrinks it.
- Duplicating Models: Uniformly scale your model and duplicate it to create patterns or ensembles without altering the original proportions.
2. Non-uniform Scaling Tips
Non-uniform scaling can transform your model in more ways than one. Manipulating the model’s height, width, or depth independently gives you the flexibility to adapt to various constraints or artistic visions.
- Axis-specific Adjustment: Select individual axes to adjust in your 3D software. This method will elongate or flatten the model along the chosen axis only.
- Aspect Ratio: For objects that require an intentional distortion or stylization, tweak the aspect ratio. Modify one dimension at a time to achieve the desired effect.
- Custom Dimensions: Input the exact measurements you need. If the final space or part size is predetermined, custom dimensions are your precise scaling tool.
With these proportional and non-uniform scaling techniques, you gain the ability to modify your models to fit any specification.
Mastery of these methods ensures that your 3D printed creations remain both functional and aesthetically pleasing, no matter their size.
Avoiding Quality Degradation
Embarking on the journey of 3D printing is filled with the excitement of turning digital dreams into tangible realities.
Yet, resizing a 3D model can often feel like walking a tightrope, where one wrong move could lead to a less-than-desirable print quality.
The key to a successful resize lies in preserving the integrity of the original model while adapting it to new dimensions.
This careful process ensures that the final print maintains all the details and strengths that were intended in the original design.
1. Techniques For Maintaining Quality
Quality maintenance is paramount during the resizing of a 3D model. To ensure a high-quality outcome, consider the following techniques:
- Understanding the print’s resolution: Before resizing, know the resolution limits of the printer to avoid quality loss due to over-scaling.
- Adjusting the wall thickness: When scaling down, increase the relative wall thickness to maintain the model’s structural integrity.
- Optimizing support structures: Resizing may require changes in support structures to counteract overhangs that could lead to printing errors.
- Using high-quality software: Employ reliable modeling software capable of scaling models without sacrificing detail accuracy.
Employing these techniques ensures that the model’s aesthetics and functionality remain uncompromised despite any changes in size.
2. Common Pitfalls To Avoid
When scaling a 3D model, steering clear of common pitfalls is crucial to avoiding quality degradation.
Keep in mind the following missteps:
- Ignoring printer capabilities: Pushing a printer beyond its capacity can result in poor print quality or even hardware damage.
- Overlooking file resolution: High-resolution files may become too large when scaled up, creating issues with printing software and RAM requirements.
- Scaling non-uniformly: Uniform scaling is essential to maintain the model proportions; non-uniform scaling can distort the print, compromising its design integrity.
- Omitting test prints: Conducting trial runs with scaled segments can surface potential problems before committing to a full print.
Avoiding these issues ensures a smoother resizing process, yielding a final 3D print that stands true to the original model’s design and structural integrity.
The above HTML content is designed to be SEO-optimized, providing clear and concise information on how to resize a 3D model without quality degradation.
The content follows a logical structure with the use of bullet points, ordered lists, and a strong emphasis on key points, enhancing readability and engagement.
Printing Infrastructure Considerations
Embarking on a 3D printing project brings about its own set of challenges and considerations, especially when resizing models is necessary.
The infrastructure that supports your 3D printing endeavors—from hardware to software—plays a pivotal role in determining the success of a resized print.
This section delves into these critical aspects, ensuring that your resized 3D models are not only possible but also practical and successful.
1. Impact Of Scaling On Printing
When you resize a 3D model, you’re changing more than just its dimensions. You’re potentially altering its structural integrity, printing time, and material usage.
Scaling down could lead to thinner walls and smaller features that may not print accurately or may be too fragile.
Conversely, scaling up increases the risk of warping and may require additional support structures.
- Detail Resolution: Smaller objects may lose intricate details.
- Strength Requirements: Larger objects need to maintain structural integrity.
- Print Bed Size: The model must fit within the printer’s build volume.
- Material Costs: Larger prints require more filament or resin.
The table below offers a glance at how scaling affects different aspects of 3D printing:
| Scale Change | Detail Resolution | Strength Print Bed | Utilization | Material Usage |
| Smaller (-) | Decrease | Potentially Compromised | Underutilized | Decreased |
| Larger (+) | Increase | Needs Evaluation | Maximized | Increased |
2. Adjustments For Different Printers
Each printer has its unique characteristics and limitations. When resizing a 3D model, compatibility with the printer’s capabilities is crucial.
Certain models may require adjustments not only to their scale but also to the print settings to ensure that the final product meets the desired quality and strength specifications.
- Nozzle Size: It dictates the minimum layer height and wall thickness.
- Build Volume: Determines maximum dimensions of the printable model.
- Print Speed: Faster speeds can affect the quality of scaled-up models.
- Material Compatibility: Ensures the printer can handle the chosen filament or resin.
Ensuring that your 3D printer’s profile is updated and accurate within your slicing software lays the groundwork for a seamless resize.
A printer well-suited for varied scales reduces trial and error and maximizes the potential for successful prints of any size.
Summary Of Scaling Best Practices
Embarking on the journey of 3D printing brings forth a plethora of innovative possibilities – one critical aspect being the ability to alter the dimensions of your models prior to or post-production.
Grasping the fundamentals of resizing is essential for both hobbyists and professionals alike. Adhering to scaling best practices is not just about achieving the desired size, but also ensuring that the integrity and functionality of the model are maintained.
The following section outlines the key approaches to effectively manage the scaling process of your 3D printed models.
1. Key Takeaways
- Understand your 3D printer’s capabilities: know the maximum and minimum dimensions it can accurately print.
- Always consider the end-use of the model: structural integrity and details may be affected by scaling.
- Use reliable software: employ well-known slicing software that permits precise scaling adjustments with accurate measurements.
- Adjust in moderation: make small, incremental changes to avoid distortion and maintain detail fidelity.
- Test print smaller segments: if possible, print a small part of the model to verify dimensions and quality before printing the entire piece.
- Maintain uniformity: ensure that all parts of a multi-component model are scaled proportionally to fit together correctly.
- Be aware of material behavior: different materials respond uniquely to changes in size, especially when considering thermal expansion and shrinkage.
2. Next Steps For Resizing 3d Printed Models
- Select the model you wish to resize and open it in your chosen 3D printing software or slicer.
- Access scaling functions are typically found within the Transform or Edit menus of the software.
- Determine the new scale based on either percentage, dimensional measurements, or volume calculations.
- Apply the revised scale uniformly to ensure all axes (x, y, and z) are adjusted consistently to maintain the model’s proportions.
- Consider the impact on print time, material usage, and the final use-case scenario when deciding on the size adjustment.
- Employ trial and error: make slight modifications if necessary based on results from initial test prints.
- Proceed with the finalized scaled version for the complete 3D print, keeping a meticulous note of all alterations for future reference.
Frequently Asked Questions for Can You Resize A 3d Printed Model?
Can A 3d Model Be Scaled Up Or Down?
Yes, a 3D model can be resized using various software tools before printing or even after the print, albeit with physical limitations.
What Software Resizes 3d Print Models?
Software like Blender, Meshmixer, and slicer programs like Ultimaker Cura can resize 3D print models effectively.
Is Resizing A 3d Print Model Difficult?
Resizing a 3D model is straightforward with proper software; complexity varies with the model’s detail and structure.
Do 3d Printers Adjust Model Sizes Automatically?
Some 3D printers have software that can automatically resize models, but manual adjustment is often required for precision.
Will Resizing Affect A Model’s Quality?
Resizing can affect a model’s quality, potentially leading to loss of detail or structural issues if not done carefully.
Can You Resize A Multi-part 3d Model?
Yes, multi-part 3D models can be resized, but each part must be scaled uniformly to ensure they fit together after printing.
What’s The Cost To Resize A 3d Printed Model?
The cost to resize a 3D model is usually minimal, as it typically involves only time spent using freely available software.
Are There Limits To How Much You Can Resize?
There are limits; excessive scaling can lead to printability issues or require adjustments in wall thickness and support structures.
How Does Material Affect Resizing 3d Prints?
Material affects resizing as some shrink or warp during printing; factor in these properties when scaling models.
Does Resizing Require 3d Modeling Skills?
Basic resizing requires minimal skills, but more complex adjustments might need advanced 3D modeling expertise.
Conclusion on Can You Resize a 3D Printed Model?
Resizing a 3D printed model is indeed feasible with the right tools and knowledge.
Understanding the software parameters and printer capabilities is key.
This flexibility enhances the utility of 3D printing for hobbyists and professionals alike.
Remember, a little patience goes a long way in perfecting your design’s dimensions.
