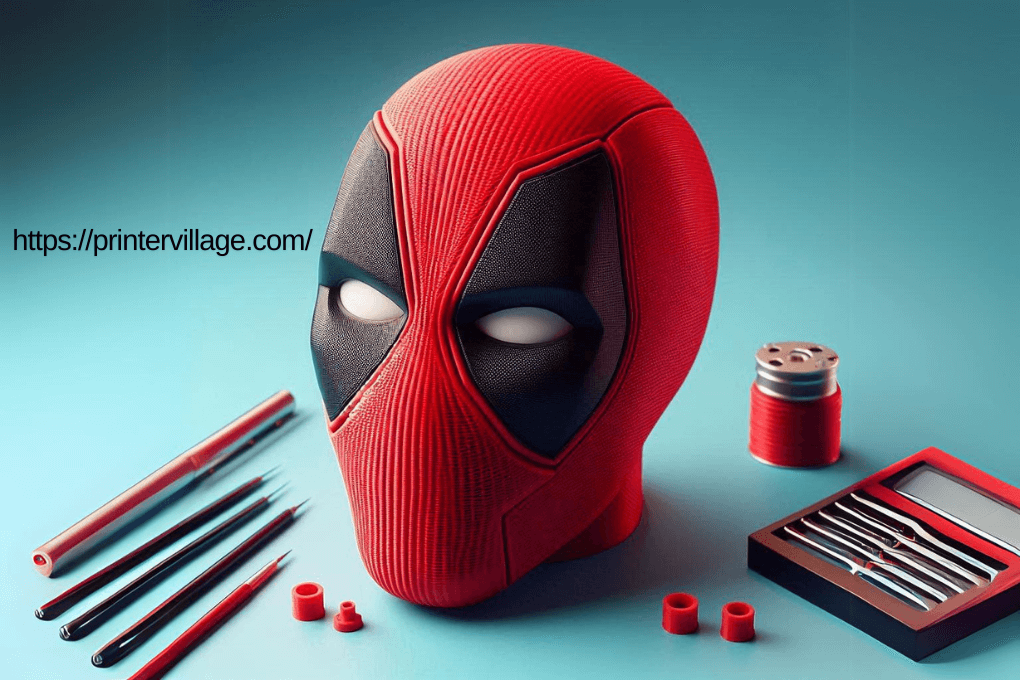
Creating a Deadpool mask using a 3D printer is an exciting project that combines creativity, technology, and a bit of patience. This guide will take you through the entire process, from understanding the basics of 3D printing to the final touches that bring your mask to life.
Understanding 3D Printing
A. What is 3D Printing?
- Definition and Basic Concepts:
3D printing is a manufacturing process that creates three-dimensional objects by adding material layer by layer based on a digital model. Unlike traditional subtractive manufacturing methods that remove material, 3D printing builds up the object from the ground up, allowing for complex shapes and designs. - Overview of Different 3D Printing Technologies:
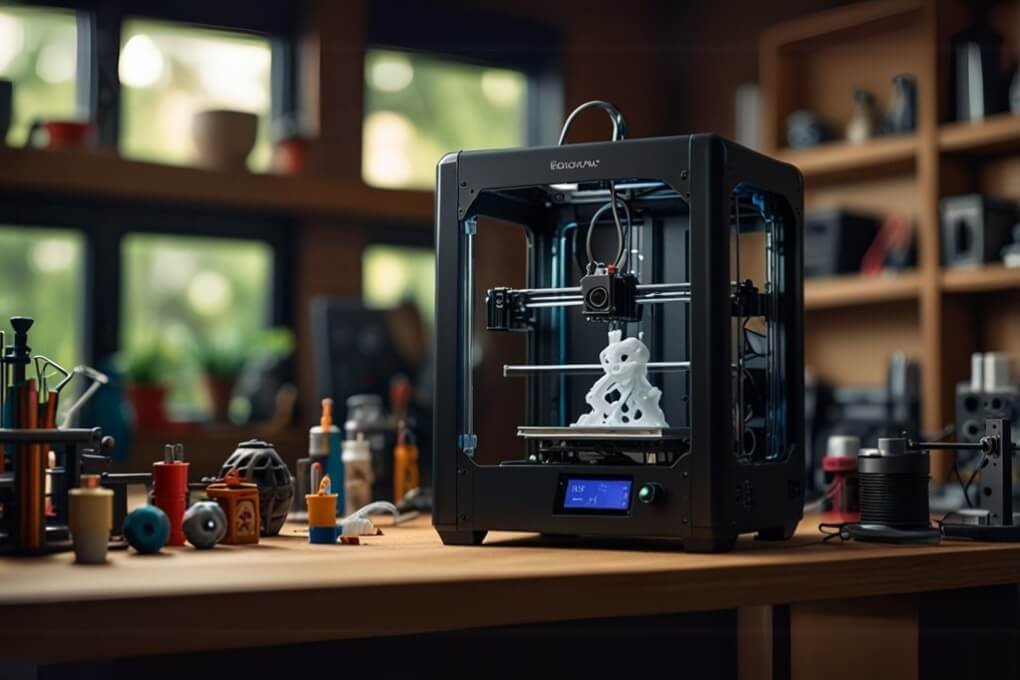
There are several 3D printing technologies, each with its strengths. The most common home uses include fused deposition modeling (FDM), stereolithography (SLA), and digital light processing (DLP). FDM is the most widely used, especially for beginners, due to its affordability and ease of use.
B. Benefits of 3D Printing
- Customization Options:
3D printing allows you to customize every aspect of your project, from the size and fit to unique design elements. This flexibility is perfect for creating personalized items like a Deadpool mask that fits your head precisely. - Cost-Effectiveness for Personal Projects:
Compared to traditional manufacturing, 3D printing is cost-effective for small, personal projects. You can print just one item without the need for expensive molds or setups, making it ideal for hobbyists and DIY enthusiasts.
Preparing for Your Deadpool Mask Project
A. Materials Needed
- Types of Filament (PLA, ABS, etc.):
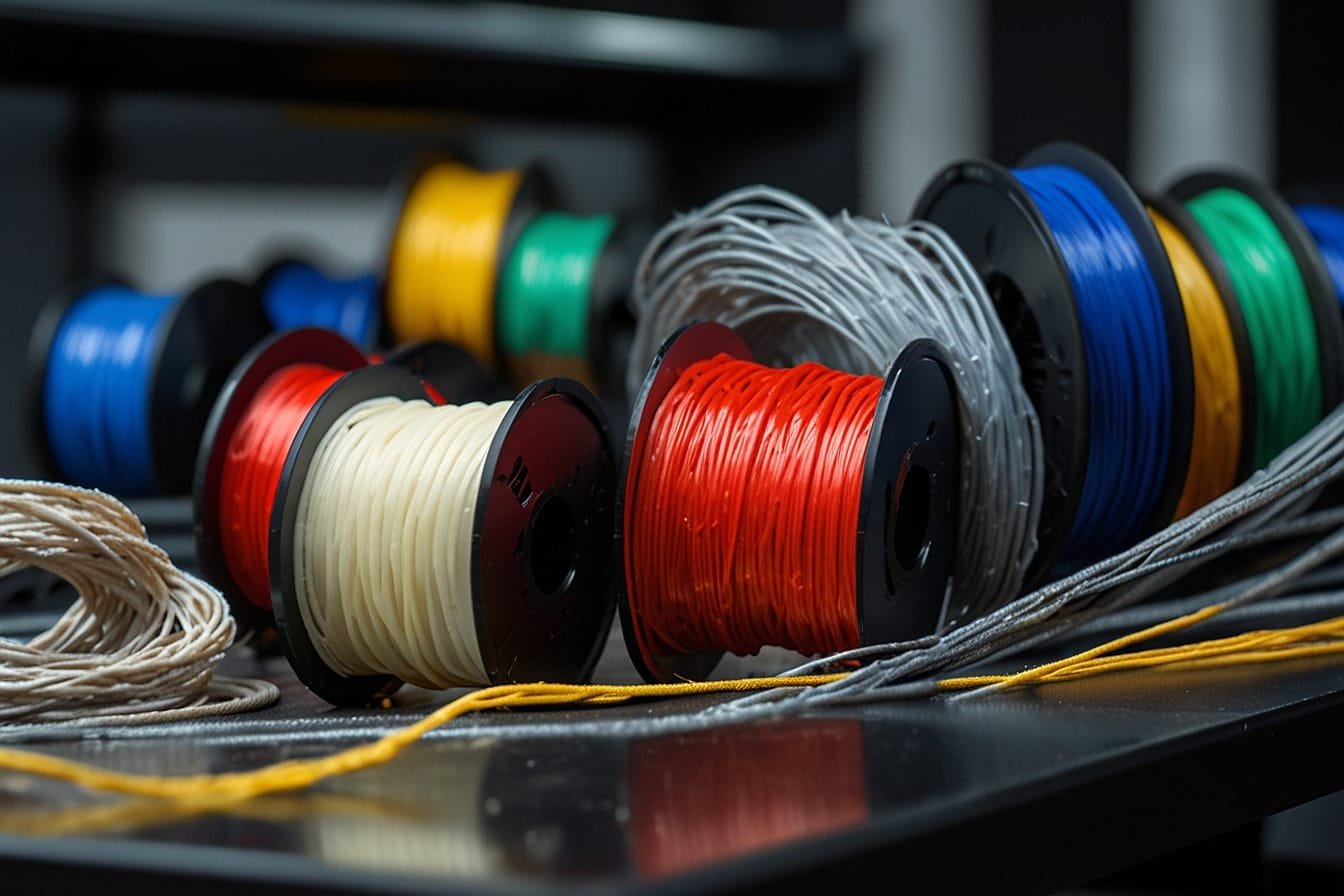
The material you choose for your Deadpool mask will affect its durability, finish, and ease of printing. PLA (Polylactic Acid) is a popular choice for its ease of use and good finish, while ABS (Acrylonitrile Butadiene Styrene) offers more strength and flexibility but requires a heated bed and proper ventilation. - Tools and Equipment Required:
In addition to the 3D printer and filament, you’ll need some basic tools for post-processing, such as a craft knife, sandpaper, and pliers. If you plan to paint the mask, prepare some primer, paint, and brushes.
B. Choosing the Right 3D Printer
- Recommended Models for Beginners:
If you’re new to 3D printing, consider starting with a beginner-friendly printer like the Creality Ender 3, Prusa i3 MK3, or Anycubic i3 Mega. These models are known for their reliability, ease of use, and active community support. - Key Features to Look For:
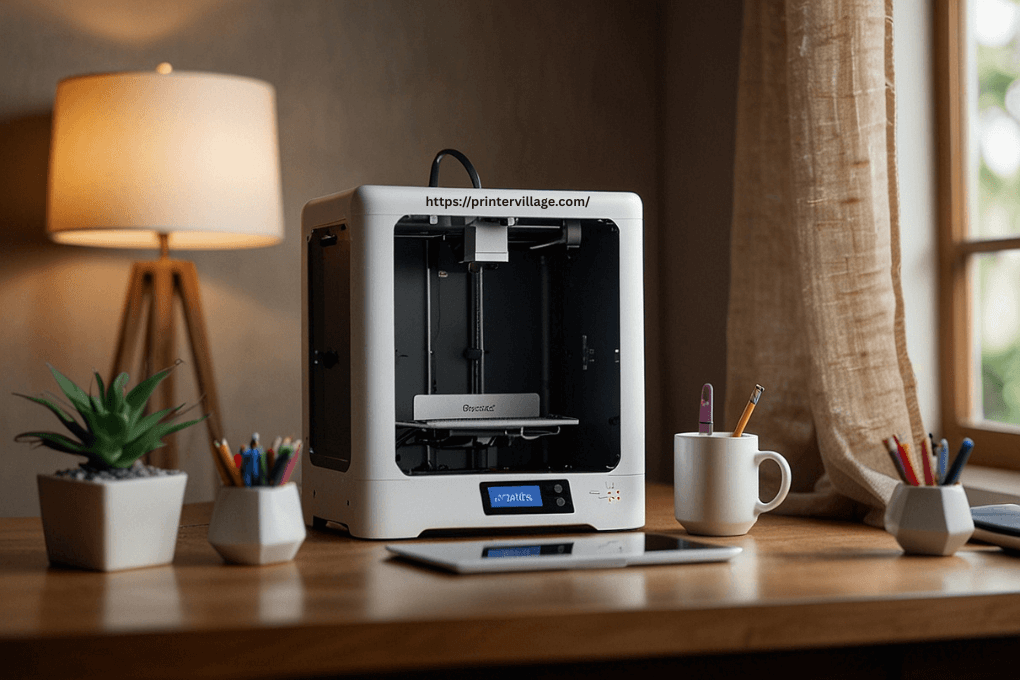
When choosing a 3D printer for your Deadpool mask project, look for features such as a large build volume, easy bed leveling, and compatibility with different filament types. A heated bed is also beneficial if you plan to use ABS filament.
Downloading or Designing the Deadpool Mask Model
A. Finding Ready-Made Models
- Popular Websites and Repositories:
Websites like Thingiverse, MyMiniFactory, and Cults3D offer a wide range of 3D models, including Deadpool masks. Search for highly-rated designs and read user comments to find a model that suits your needs. - Reviewing User Ratings and Comments:
Before downloading a model, check the ratings and read the comments to ensure the design is well-constructed and suitable for 3D printing. User feedback can provide insights into potential challenges or modifications needed.
B. Creating Your Own Design
- Software Options for Designing (Tinkercad, Blender):
If you prefer to design your own Deadpool mask, software like Tinkercad (for beginners) or Blender (for more advanced users) can help you create a custom model. These tools allow you to sculpt, modify, and refine your design. - Basic Steps for Modeling a Mask:
Start by creating a basic head shape that matches your measurements. Then, add the distinctive features of Deadpool’s mask, such as the eye shapes and the mask’s contours. Once satisfied, export the model in a format compatible with your slicing software.
Preparing the 3D Print File
A. Slicing the Model
- Overview of Slicing Software (Cura, PrusaSlicer, etc.):
Slicing software translates your 3D model into instructions (G-code) that your printer can understand. Cura, PrusaSlicer, and Simplify3D are popular options, each offering a range of settings to optimize your print. - Key Settings to Consider (Layer Height, Infill, Support Structures):
When slicing your Deadpool mask, pay attention to layer height (for detail resolution), infill (for strength and weight), and support structures (to prevent sagging in overhanging areas). A layer height of 0.2mm and an infill of 20-30% are good starting points.
B. Exporting the G-code
- File Formatting and Compatibility:
Ensure your slicing software is set to export the G-code in a format compatible with your 3D printer. Most printers use standard G-code, but some may require specific settings. - Transfer Methods to the Printer (SD Card, USB):
Once your G-code is ready, transfer it to your printer using an SD card, USB, or direct connection, depending on your printer’s capabilities.
Printing the Deadpool Mask
A. Setting Up the Printer
- Calibration and Bed Leveling:
Proper calibration and bed leveling are crucial for a successful print. Follow your printer’s instructions to ensure the bed is level and the nozzle is at the correct height from the bed. - Loading Filament and Starting the Print:
Load the filament into the printer, ensuring it feeds smoothly through the extruder. Start the print and monitor the first few layers to ensure everything is running smoothly.
B. Monitoring the Print Process
- Tips for Staying on Track During Printing:
Stay close to the printer during the early stages of printing to catch any issues early. Regularly check on the print to ensure it’s progressing as expected. - Common Issues to Watch For (Warping, Stringing):
Watch for common issues like warping (when edges lift from the bed) and stringing (thin strands of filament between parts). Adjust settings or pause the print to correct these issues if needed.
Post-Processing Techniques
A. Removing Supports and Cleaning the Mask
- Safe Techniques for Support Removal:
Once printing is complete, carefully remove any support structures using pliers or a craft knife. Be gentle to avoid damaging the mask’s surface. - Cleaning Up Rough Edges and Imperfections:
Use sandpaper or a file to smooth out rough edges and imperfections. Start with a coarser grit and gradually move to finer grits for a polished finish.
B. Painting and Finishing Touches
- Recommended Paints and Application Methods:
Acrylic paints are a great choice for painting your Deadpool mask. Start with a primer to help the paint adhere better, then apply thin coats of red and black paint to match Deadpool’s iconic look. - Adding Details (Eyes, Texture) to Enhance Realism:
For added realism, consider adding details like the white eyes and subtle texture to the mask. You can use mesh or fabric for the eyes and experiment with different painting techniques for texture.
Finalizing and Wearing the Deadpool Mask
A. Fitting and Adjustments
- Ensuring Comfort and Usability:
Before wearing the mask, make sure it fits comfortably. You may need to add padding inside or adjust the size slightly. Ensure the eye holes are aligned with your eyes for clear vision. - Adding Straps or Fasteners:
If the mask doesn’t stay in place, add elastic straps or other fasteners. You can attach them with glue or by designing small loops into the mask during the modeling phase.
B. Tips for Safe and Enjoyable Use
- Safety Considerations While Wearing:
When wearing your Deadpool mask, ensure you can breathe comfortably and have a clear line of sight. Avoid wearing the mask for extended periods, especially in hot or confined spaces. - Suggestions for Showcasing Your Creation in Cosplay or Themed Events:
Your 3D-printed Deadpool mask is perfect for cosplay events or themed parties. Pair it with a Deadpool costume and confidently showcase your creation, knowing you’ve built it from scratch.
FAQS For How to 3D Print a Deadpool Mask
What is the best filament to use for a Deadpool mask?
PLA is recommended for its ease of use and good finish. ABS is stronger but requires a heated bed and better ventilation.
Which 3D printer should I use as a beginner for this project?
The Creality Ender 3 and Prusa i3 MK3 are great options for beginners, offering reliability and ease of use.
Where can I find a Deadpool mask model for 3D printing?
You can find ready-made models on websites like Thingiverse, MyMiniFactory, and Cults3D.
Can I design my own Deadpool mask instead of downloading a model?
Yes, you can use software like Tinkercad (beginner-friendly) or Blender to create your own custom design.
What are the key settings to consider when slicing the model?
Important settings include layer height (for detail), infill (for strength), and support structures (for overhangs).
How do I ensure the 3D printer is properly set up before printing?
Make sure to calibrate the printer and level the bed to ensure the first layer adheres correctly.
What should I do if I notice issues like warping during the print?
If warping occurs, check your bed leveling, adhesion, and possibly adjust the temperature settings.
How do I safely remove supports from the finished mask?
Use pliers or a craft knife to carefully remove supports, being gentle to avoid damaging the mask.
What type of paint should I use to finish the mask?
Acrylic paints are recommended, with a primer applied first to help the paint adhere better.
How can I make sure the mask fits comfortably?
You can add padding inside the mask or adjust its size during the design phase for a better fit.
Conclusion on How to 3D Print a Deadpool Mask
Successfully 3D printing a Deadpool mask requires careful planning, the right materials, and attention to detail. Once your mask is complete, share your work with the 3D printing community online to connect with fellow enthusiasts and inspire others. Happy printing!
