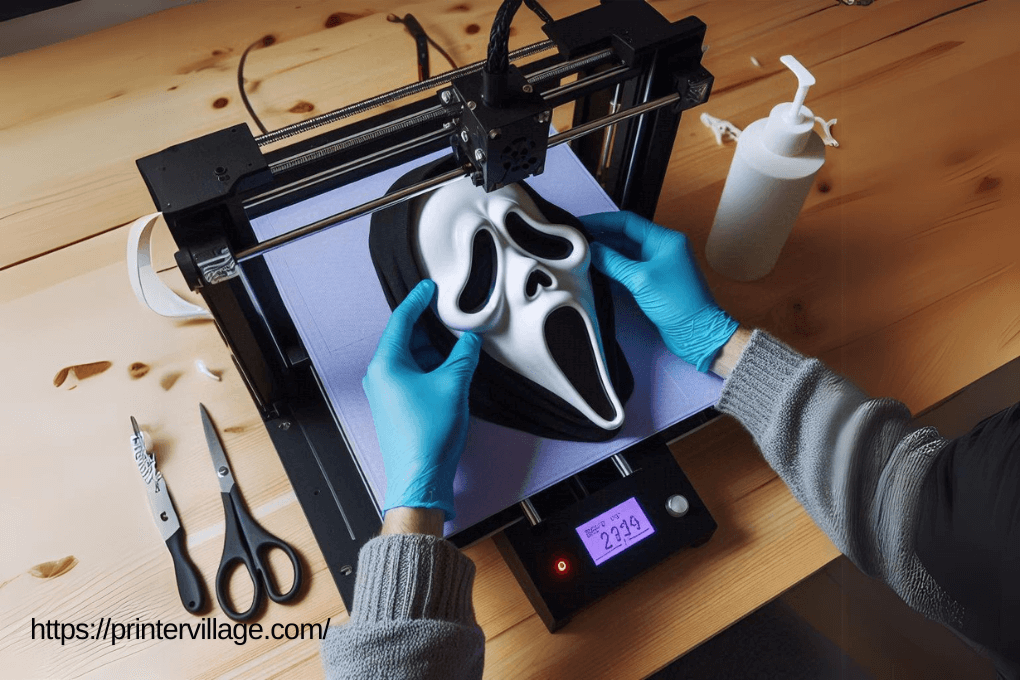
In this article, you will learn about the entire process of making a Scream mask with a 3D printer. From selecting the right printer and materials to finishing the mask with paint and straps, this guide covers every step in detail.
Understanding the Scream Mask Design
History of the Scream Mask
The Scream mask, also known as the “Ghostface” mask, first appeared in the 1996 horror film Scream. Designed to evoke fear, the mask has become a symbol of the horror genre and a popular choice for Halloween costumes.
Key Features of the Scream Mask
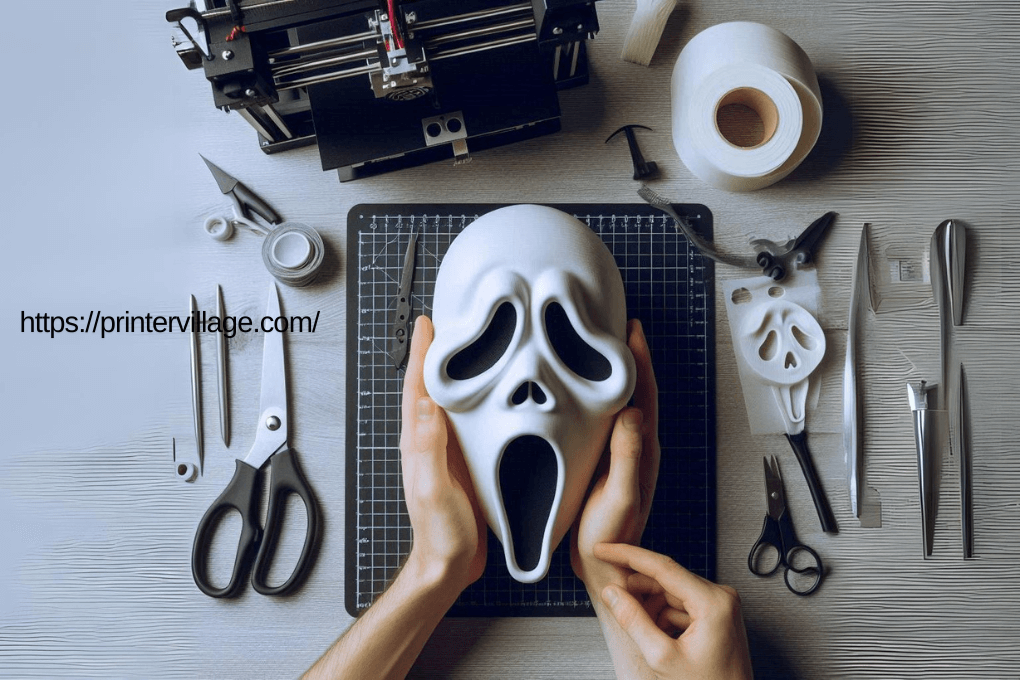
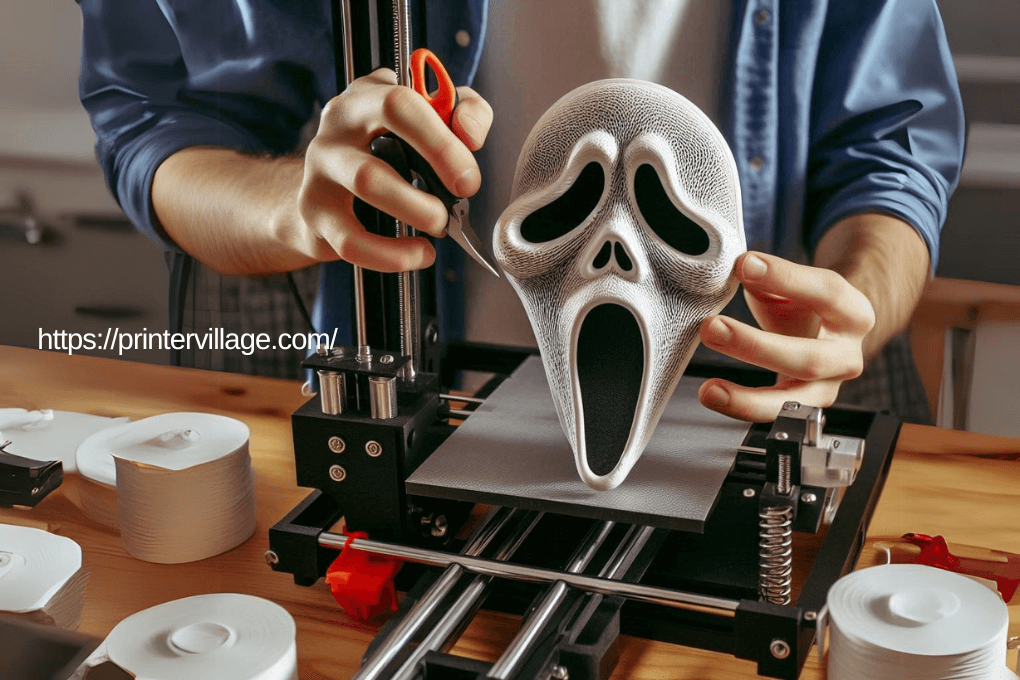
The Scream mask is characterized by its elongated face, hollow eyes, and wide-open mouth. These features give it a haunting, ghostly appearance that has captivated audiences for decades.
Why the Scream Mask is Popular for Halloween
The mask’s popularity stems from its iconic status in horror films and its simple yet terrifying design. It is instantly recognizable and easy to wear, making it a favorite for Halloween revelers.
Choosing the Right 3D Printer
Types of 3D Printers
There are several types of 3D printers, including FDM (Fused Deposition Modeling), SLA (Stereolithography), and SLS (Selective Laser Sintering). Each has its strengths, but for mask-making, FDM printers are the most accessible and widely used.
Printer Specifications for Mask Creation
When choosing a 3D printer for creating a mask, consider the build volume, resolution, and material compatibility. A printer with a larger build volume allows for printing the mask in one piece, while high resolution ensures detailed features.
Recommended 3D Printers for Halloween Masks
For beginners, the Creality Ender 3 is a great choice due to its affordability and reliability. For those with more experience, the Prusa i3 MK3S+ offers excellent print quality and versatility.
Selecting Materials for the 3D Printed Mask
Common 3D Printing Materials
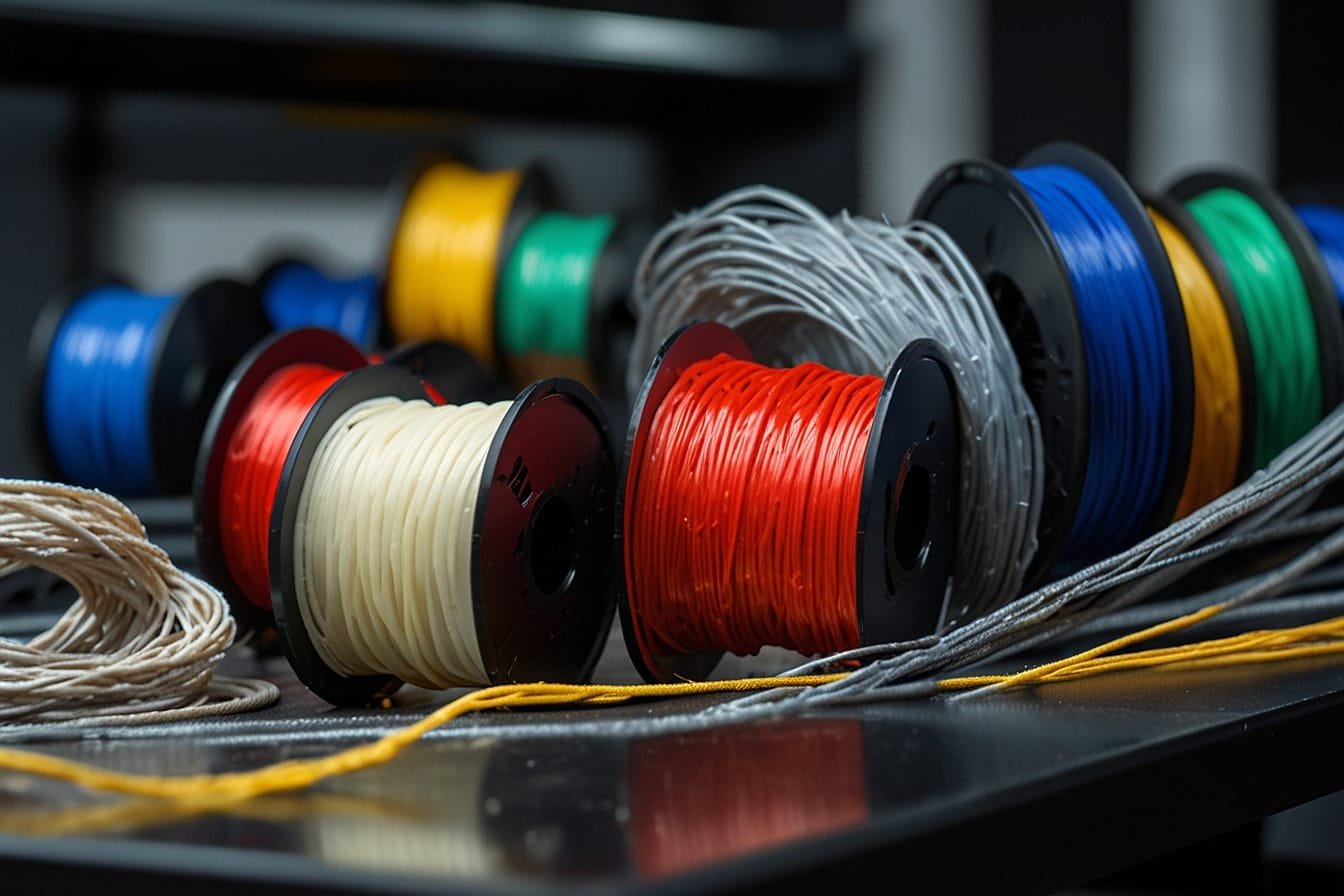
PLA (Polylactic Acid) is the most common material used in 3D printing due to its ease of use and environmental friendliness. Other materials include ABS (Acrylonitrile Butadiene Styrene) and PETG (Polyethylene Terephthalate Glycol), each offering different benefits.
Best Materials for Mask Durability and Comfort
For a Halloween mask, PLA is ideal because it is lightweight and easy to print. However, for added durability, PETG is a good choice as it is more flexible and impact-resistant.
Comparing PLA, ABS, and PETG for Mask Making
- PLA: Easy to print, biodegradable, but less durable.
- ABS: Stronger, more heat-resistant, but requires a heated bed and can emit fumes.
- PETG: Flexible, durable, and resistant to impact, making it a balanced choice for masks.
Sourcing and Preparing the 3D Model
Finding Scream Mask 3D Models Online
There are numerous websites where you can find 3D models of the Scream mask. Websites like Thingiverse, MyMiniFactory, and Cults3D offer free and paid models that you can download and print.
Modifying the 3D Model for Customization
Before printing, you might want to customize the model to fit your face better or add unique features. Software like Blender or Tinkercad allows you to modify the model to your liking.
Software Tools for 3D Model Preparation
Use slicing software such as Cura or PrusaSlicer to prepare the model for printing. These tools let you adjust settings like infill, layer height, and supports to optimize the print.
Setting Up the 3D Printer for Mask Creation
Calibrating the Printer
Proper calibration is crucial for a successful print. Ensure that the print bed is level, the nozzle is clean, and the extruder is functioning correctly.
Selecting the Right Print Settings
For a mask, consider a layer height of 0.2mm for a balance between detail and print speed. A higher infill percentage will make the mask more durable, but also increase print time.
Importance of Support Structures and Rafts
Support structures are necessary for overhanging parts of the mask, such as the eye sockets. Rafts can also help with bed adhesion, especially if your printer struggles with warping.
Printing the Scream Mask
Step-by-Step Guide to Printing
- Load the filament into the printer.
- Start the print by uploading the sliced model to the printer.
- Monitor the print periodically to ensure there are no issues.
Troubleshooting Common 3D Printing Issues
Common problems include warping, stringing, and layer shifts. Most of these can be resolved by adjusting the print settings or re-calibrating the printer.
Post-Printing Quality Checks
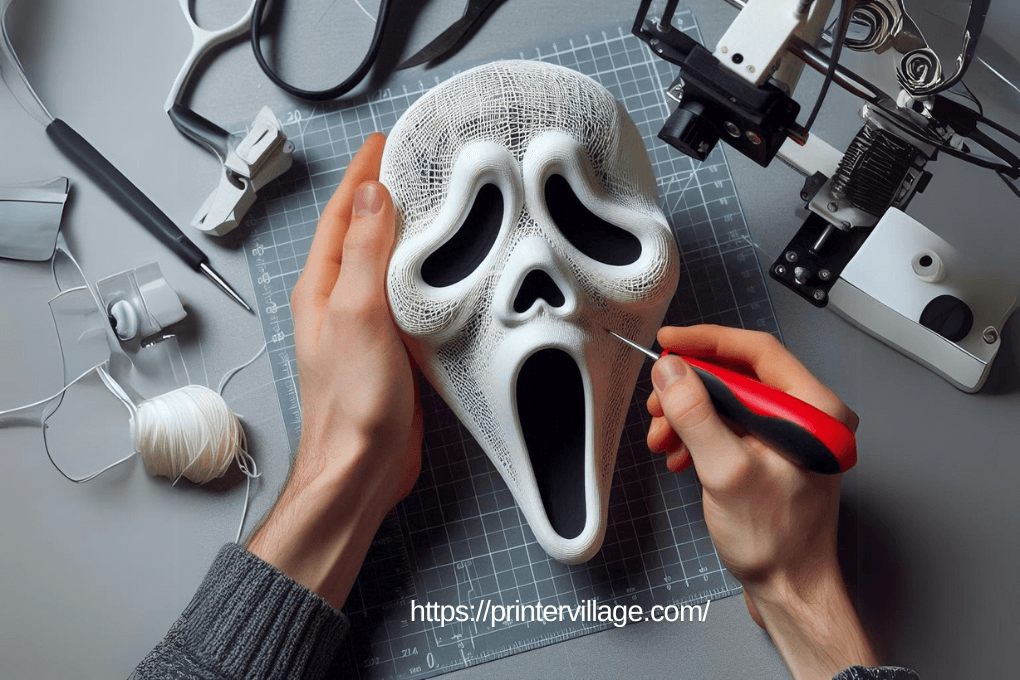
Once the print is complete, inspect the mask for any imperfections. Sand down rough edges and ensure all details are printed correctly.
Finishing and Painting the 3D Printed Mask
Smoothing the Surface of the Mask
Use sandpaper or a rotary tool to smooth the surface of the mask. This will prepare it for painting and give it a more polished look.
Painting Techniques for Realistic Effects
Acrylic paints work well on 3D prints. Start with a base coat and then add shading and highlights to enhance the mask’s features. Use a fine brush for detailed areas like the eyes and mouth.
Adding Details and Final Touches
Consider adding extra details such as faux blood, cracks, or other distressing effects to make the mask look more authentic and scary.
Adding Straps and Padding for Comfort
Choosing the Right Straps
Elastic straps are ideal for securing the mask to your head. They provide a snug fit while allowing for some flexibility.
Attaching Straps Securely
Use hot glue or small screws to attach the straps to the mask. Make sure they are positioned correctly to hold the mask in place without causing discomfort.
Adding Padding for Comfort and Fit
Foam padding can be added inside the mask to make it more comfortable to wear. Focus on areas that come into contact with your face, such as the forehead and cheeks.
Testing and Adjusting the Fit
Ensuring the Mask Fits Comfortably
Wear the mask for a few minutes to test its comfort. Make any necessary adjustments to the straps or padding.
Making Adjustments for Better Fit
If the mask is too tight or loose, adjust the strap length. You can also add more padding or remove some if needed.
Safety Considerations for Wearing the Mask
Ensure that the mask has enough ventilation and does not obstruct your vision. Safety should always be a priority, especially if the mask is worn for extended periods.
Maintaining Your 3D Printed Mask
Cleaning and Storing the Mask
After use, clean the mask with a damp cloth to remove any dirt or makeup. Store it in a cool, dry place to prevent warping or damage.
Repairing Damages
If the mask gets damaged, minor repairs can be made with super glue or by reprinting small parts. Larger damages may require reprinting the entire mask.
Longevity of 3D Printed Masks
With proper care, a 3D printed mask can last for several Halloweens. Avoid exposing it to extreme heat or pressure to ensure it remains in good condition.
Expert Insights
Interview with a 3D Printing Expert
We spoke with a 3D printing specialist who shared tips on achieving the best print quality and avoiding common pitfalls in mask-making.
Tips from Professional Costume Makers
Professional costume makers recommend experimenting with different paint techniques and materials to create a truly unique mask.
Case Study: Successful 3D Printed Halloween Masks
A case study of a successful 3D printed Halloween costume demonstrates the potential of this technology in creating high-quality, custom masks.
Future Trends in 3D Printed Costumes
Advances in 3D Printing Technology
As 3D printing technology continues to evolve, we can expect even more detailed and intricate costume designs to become possible.
The Future of Customizable Costumes
3D printing allows for limitless customization, making it possible to create one-of-a-kind costumes tailored to individual preferences.
Potential Innovations in Halloween Mask Design
Future innovations might include masks with embedded electronics, such as LED lights or sound effects, to enhance the Halloween experience.
FAQs For How to Make a Scream Mask with a 3D Printer
Can I Use Any 3D Printer to Make a Scream Mask?
While most 3D printers can create a Scream mask, those with larger build volumes and finer resolution will produce better results.
How Long Does It Take to Print a Mask?
Printing a mask can take anywhere from 5 to 15 hours, depending on the printer speed, model complexity, and print settings.
What is the Cost of Printing a 3D Mask?
The cost varies depending on the material used but typically ranges between $10 and $50 for a single mask.
Can I customize the size of the Scream mask to fit my face better?
Yes, you can resize the 3D model in your slicing software before printing to ensure a better fit. Just make sure the proportions remain correct.
What software can I use to edit or customize the 3D model of the mask?
You can use free software like Blender or Tinkercad to edit or customize the 3D model before printing. These tools allow you to adjust the size, add features, or modify details.
Is it possible to add LED lights to the 3D printed mask?
Yes, you can integrate LED lights into the mask by creating small cavities in the 3D model for the lights and wiring. This requires some additional electronics knowledge.
How can I ensure that the mask is breathable and comfortable to wear?
To improve breathability, you can add ventilation holes to the mask during the design process. Also, ensure that the mask has enough padding and that it’s not too tight around the face.
Can I paint the mask with regular spray paint?
Yes, regular spray paint can be used on 3D printed masks, but it’s recommended to use primer first for better adhesion and a smoother finish. Acrylic paints also work well for detailed painting.
What should I do if the mask warps during printing?
Warping can be reduced by ensuring proper bed adhesion, using a heated bed, or adding a brim or raft in your slicing software. Adjusting the temperature settings may also help.
Is it safe to wear a 3D printed mask for long periods?
As long as the mask is well-ventilated and properly padded, it should be safe for extended wear. However, take breaks if you feel uncomfortable or experience any breathing issues
Conclusion On How to Make a Scream Mask with a 3D Printer
Creating a Scream mask with a 3D printer is a fun and rewarding project. By following this guide, you can craft a custom mask that’s perfect for Halloween. With the right tools, materials, and a bit of creativity, you’ll have a unique and impressive costume piece that stands out. Give 3D printing a try this Halloween and enjoy the satisfaction of making something truly your own.
