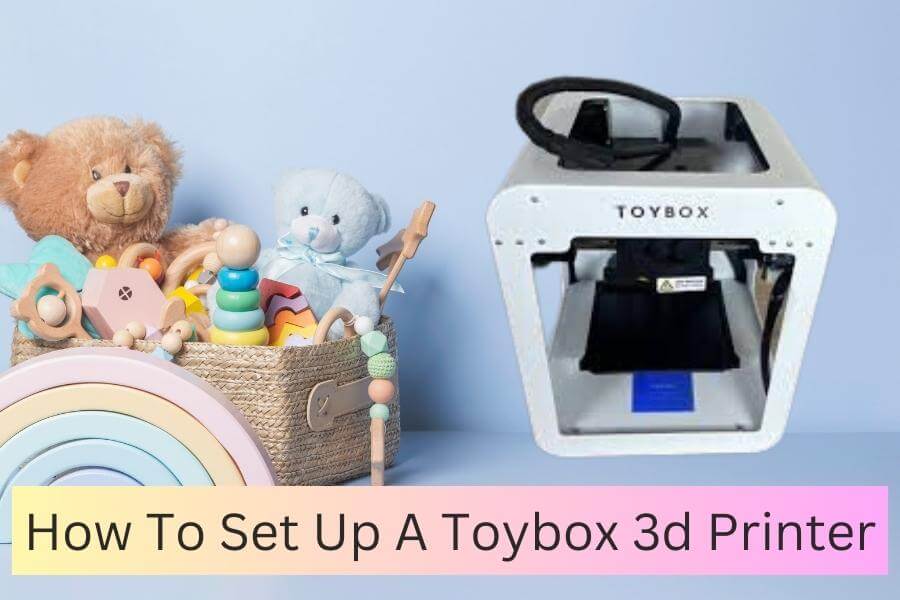
Are you ready to unleash your creativity and bring your imagination to life? Look no further than the Toybox 3D Printer, the ultimate tool for turning your ideas into tangible objects.
Whether you’re a hobbyist, educator, or simply someone with a passion for innovation, this compact and user-friendly printer is a game-changer.
In this guide, we will walk you through the step-by-step process of setting up your Toybox 3D Printer, ensuring that you’re ready to embark on a journey of endless possibilities.
Setting up a 3D printer may seem daunting, especially if you’re new to the world of additive manufacturing. However, with the Toybox 3D Printer, the setup process is straightforward and hassle-free.
In just a few simple steps, you’ll be on your way to creating custom toys, prototypes, and personalized gifts that will impress everyone around you.
From unboxing the printer to connecting it to your device, we’ll cover everything you need to know to get started. So, let’s dive in and unlock the door to a world of limitless creativity with the Toybox 3D Printer!
How to Set Up a Toybox 3D Printer:
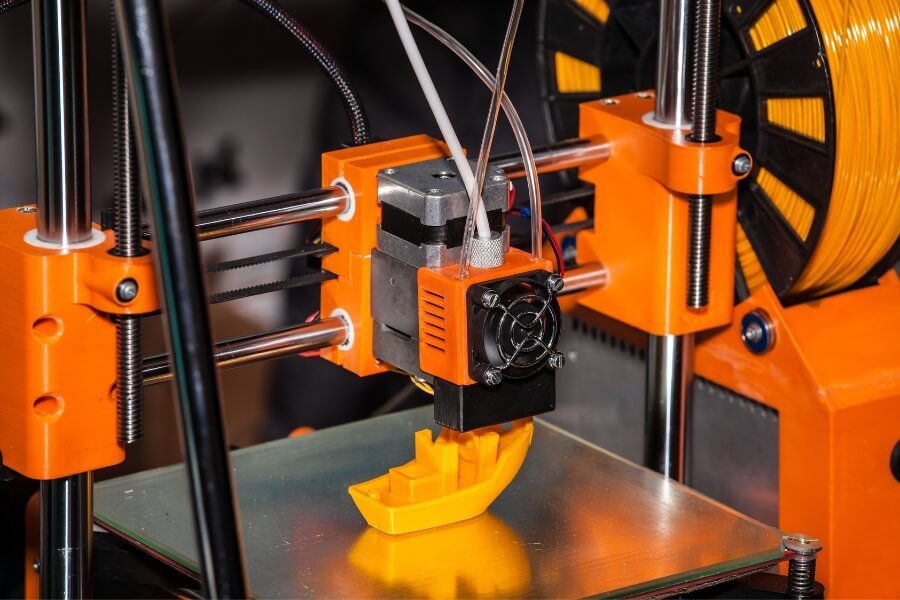
- Unbox the Toybox 3D Printer and remove all packaging materials.
- Connect the printer to a power source using the provided cable.
- Install the Toybox app on your smartphone or tablet and connect it to the printer via Wi-Fi.
- Follow the on-screen instructions in the app to level the print bed.
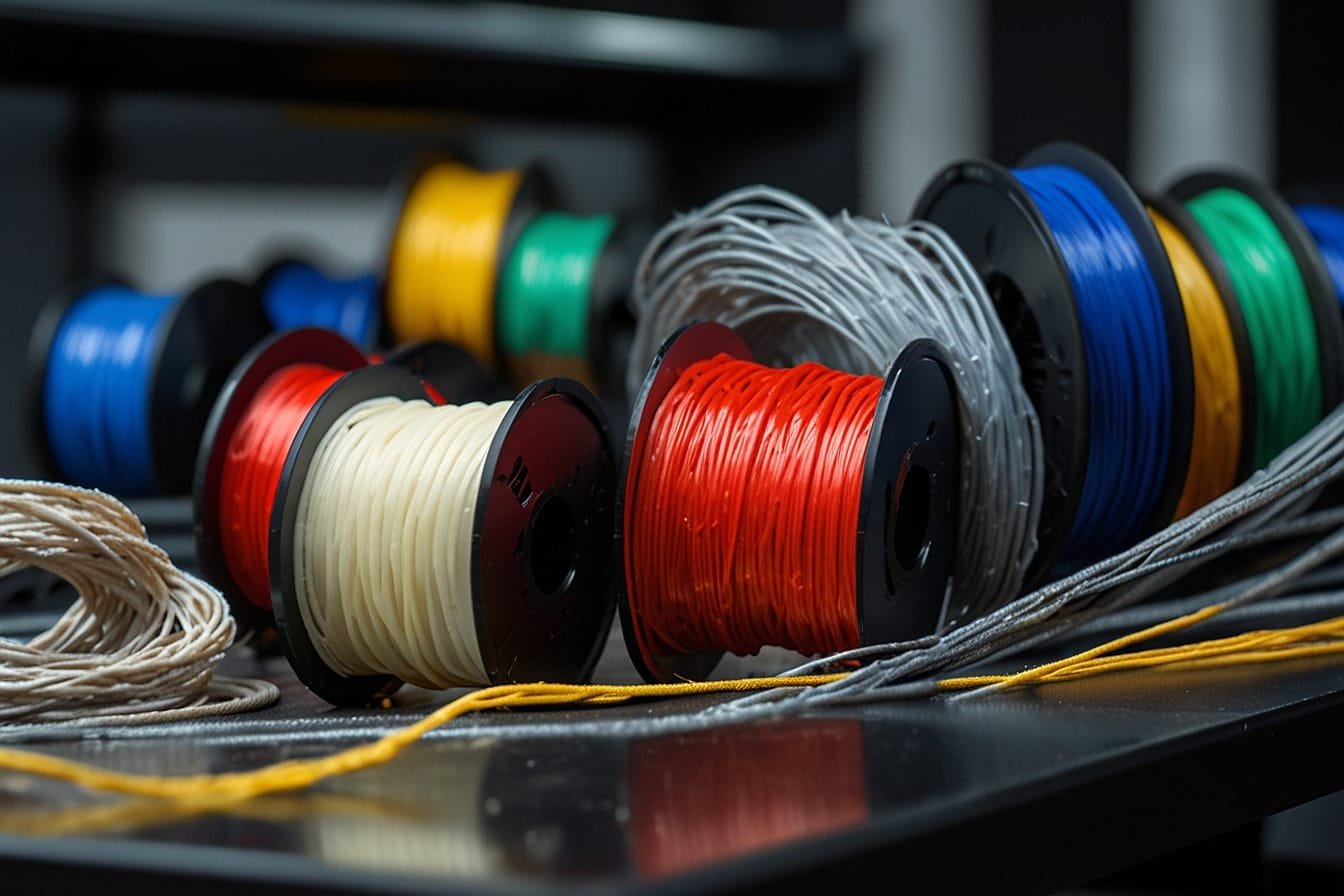
- Load the Toybox filament cartridge into the printer.
- Choose a design from the Toybox app or create your own using the built-in tools.
- Send the design to the printer and wait for it to finish printing.
- Once the print is complete, carefully remove the object from the print bed.
Introduction to Toybox 3D Printer
The Toybox 3D Printer is an innovative device that allows you to bring your imagination to life by creating three-dimensional objects.
Whether you’re a hobbyist, an educator, or a parent looking for a fun and educational activity for your child, setting up a Toybox 3D Printer is a great way to explore the world of 3D printing.
In this article, we will guide you through the step-by-step process of setting up your Toybox 3D Printer, ensuring that you have everything you need to start printing your own toys and designs.
Step 1: Unboxing and Assembling
When you receive your Toybox 3D Printer, the first step is to carefully unbox and assemble it. Begin by removing all the components from the packaging and organizing them on a clean and flat surface.
Check the contents against the provided checklist to ensure that you have received all the necessary parts. Next, follow the detailed assembly instructions provided in the user manual.
Start by attaching the base and the frame of the printer, making sure that all the screws and bolts are securely tightened. Then, connect the various cables and wires according to the instructions.
Finally, install the print bed and ensure it is level and aligned properly.
Step 2: Connecting to Power and Network
Once your Toybox 3D Printer is assembled, the next step is to connect it to power and network. Locate the power cord and plug it into a suitable power outlet. Ensure that the printer is receiving a stable power supply.
For network connectivity, you have the option to connect the printer to your Wi-Fi network or use an Ethernet cable. Refer to the user manual for detailed instructions on how to connect the printer to your desired network.
Make sure to input the correct network credentials, such as the SSID and password, to establish a stable connection.
Step 3: Calibrating the Printer
Calibrating the Toybox 3D Printer is crucial to ensure optimal printing results. Begin by turning on the printer and accessing the calibration settings through the user interface. Follow the on-screen prompts to calibrate the print bed and the extruder.
During the calibration process, the printer will perform a series of tests to determine the correct settings for precise printing. Make sure to carefully follow the instructions and make any necessary adjustments as guided by the printer.
Calibration might take some time, but it is essential for achieving high-quality prints.
Step 4: Installing the Toybox App
To control and manage your Toybox 3D Printer, you will need to install the Toybox app on your compatible device. Visit the app store on your smartphone or tablet and search for “Toybox.” Download and install the app, ensuring that you have a stable internet connection.
Once the app is installed, open it and follow the on-screen instructions to set up your Toybox 3D Printer within the app. This will involve connecting the app to your printer via Wi-Fi or Bluetooth, depending on the model.
Make sure to grant any necessary permissions requested by the app to ensure seamless communication between your device and the printer.
Step 5: Loading and Printing Designs
With your Toybox 3D Printer fully set up, you are now ready to load and print your own designs. Launch the Toybox app on your device and explore the various pre-designed toys and objects available in the library.
Alternatively, you can create your own designs using compatible 3D modeling software and import them into the app.
To start a print, select the desired design from the app’s library or import your own. Follow the on-screen instructions to set the desired print settings, such as size and quality. Once all the settings are configured, send the print command through the app, and the Toybox 3D Printer will begin the printing process.
Step 6: Maintenance and Troubleshooting
Regular maintenance is essential to keep your Toybox 3D Printer in optimal condition. Follow the maintenance instructions provided in the user manual, such as cleaning the print bed and nozzle, lubricating moving parts, and checking for any loose connections.
If you encounter any issues or have trouble with your printer, refer to the troubleshooting section in the user manual or visit the Toybox support website for assistance. They have a comprehensive knowledge base and support team ready to help you with any technical difficulties you may experience.
Step 7: Expanding Your 3D Printing Skills
Now that you have successfully set up your Toybox 3D Printer, it’s time to explore and expand your 3D printing skills. Join online communities and forums dedicated to 3D printing to learn from experienced enthusiasts and share your own creations.
Experiment with different materials, techniques, and designs to unleash your creativity and take full advantage of the possibilities offered by your Toybox 3D Printer.
Remember to always prioritize safety during your 3D printing journey. Follow all safety guidelines provided by the manufacturer and exercise caution when handling the printer and materials.
Frequently Asked Questions for How To Set Up A Toybox 3d Printer
Here are some commonly asked questions about setting up a Toybox 3D printer:
What are the initial steps to set up a Toybox 3D printer?
Setting up a Toybox 3D printer is a straightforward process. Start by unboxing the printer and removing all packaging materials. Next, plug in the power cord and turn on the printer.
Connect the printer to your computer using the provided USB cable. Install the necessary software and drivers on your computer following the instructions provided in the user manual or on the manufacturer’s website.
Once the software is installed, calibrate the printer by following the on-screen instructions. This usually involves adjusting the build plate and leveling the print bed. Once the calibration is complete, your Toybox 3D printer is ready to use!
What software do I need to set up and operate a Toybox 3D printer?
To set up and operate a Toybox 3D printer, you will need to install the Toybox software. This software is available for both Windows and Mac operating systems. You can download the software from the Toybox website or use the provided installation CD that comes with the printer.
The Toybox software allows you to design and manipulate 3D models, as well as prepare them for printing. It provides an intuitive interface that is easy to navigate, making it suitable for users of all skill levels. Additionally, the software enables you to connect your Toybox 3D printer to your computer, allowing you to send print jobs directly to the printer
How do I load filament into my Toybox 3D printer?
Loading filament into your Toybox 3D printer is a simple process. Begin by ensuring that the printer is turned on and connected to your computer. Open the Toybox software and navigate to the filament loading section. This is usually located under the settings or tools menu.
Once in the filament loading section, follow the on-screen instructions to load the filament. Typically, you will need to cut the end of the filament at a 45-degree angle, insert it into the filament tube, and push it until it reaches the extruder. The filament will then be automatically fed into the printer. Once the filament is loaded, you can begin printing your 3D models.
How do I troubleshoot common issues during the setup process?
If you encounter any issues during the setup process of your Toybox 3D printer, there are a few troubleshooting steps you can try. Firstly, ensure that all cables are securely connected and that the printer is receiving power. Restarting both the printer and your computer can also help resolve any software-related issues.
If the printer is not calibrating correctly, double-check that the build plate is clean and free from any debris. Additionally, make sure that the print bed is properly leveled. If the filament is not feeding correctly, check for any obstructions or tangled filament and ensure that the filament is correctly inserted into the extruder. If you continue to experience difficulties, consult the user manual or contact Toybox customer support for further assistance.
Can I use third-party filament with my Toybox 3D printer?
The Toybox 3D printer is designed to work best with Toybox filament, which is specifically formulated for optimal printing results. However, it is possible to use third-party filament with your Toybox printer. Keep in mind that using non-Toybox filament may require additional adjustments to the printer’s settings, such as temperature and flow rate.
It is important to note that using third-party filament may void your printer’s warranty. Additionally, the quality and reliability of the prints may vary when using non-Toybox filament. If you choose to use third-party filament, make sure to research and select a reputable brand that is compatible with your Toybox 3D printer.
conclusion on How To Set Up A Toybox 3d Printer
In conclusion, setting up a Toybox 3D printer can be a rewarding and exciting experience for any enthusiast. By following the step-by-step instructions and tips provided in this guide, you can easily navigate the setup process and start bringing your ideas to life.
Remember to take your time, familiarize yourself with the printer’s components, and ensure that you have all the necessary tools and materials before beginning. With a little patience and perseverance, you’ll soon be amazed at the endless possibilities that await you with your new Toybox 3D printer.
Once your Toybox 3D printer is up and running, don’t be afraid to experiment and unleash your creativity. From designing custom toys to prototyping functional parts, this versatile machine opens up a world of possibilities.
Embrace the learning curve and don’t hesitate to seek out additional resources and communities to expand your knowledge. With practice and mastery, you’ll be able to fine-tune your printing skills and create impressive projects that will leave others in awe.
So, get ready to embark on an exciting journey into the realm of 3D printing with your Toybox printer, and let your imagination soar!
